I figure I might as well use this rarely-updated blog as a place to log my journey in woodworking as I slowly try to replace/improve the cheap furniture in our house. I have made a few pieces of furniture prior to this, including the desk organizer and exercise bike table/tray/thing I’m currently using, but this is the first major piece I’ve built, and the first that isn’t made from box-store pine.
The long-term goal here is to replace a bunch of the ugly extra shelves we have in our kitchen to hold all of CY’s baking stuff with nicer-looking furniture that hides it. This cabinet, step one of that project, is designed mostly to hold baking sheets and smaller tools.
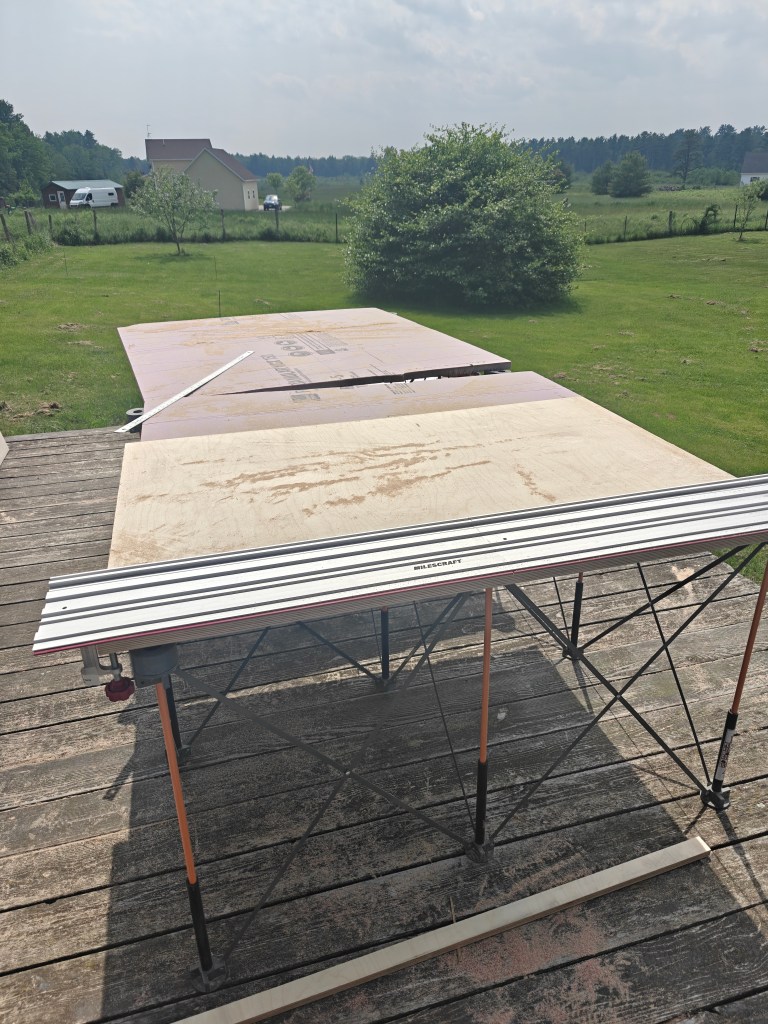
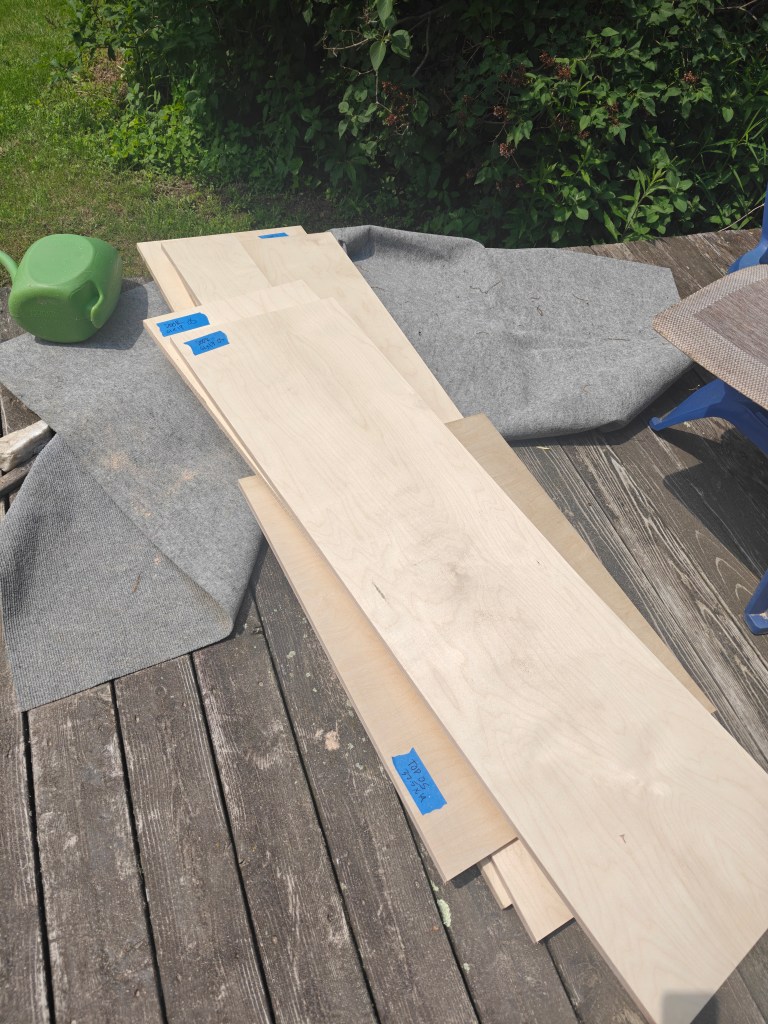
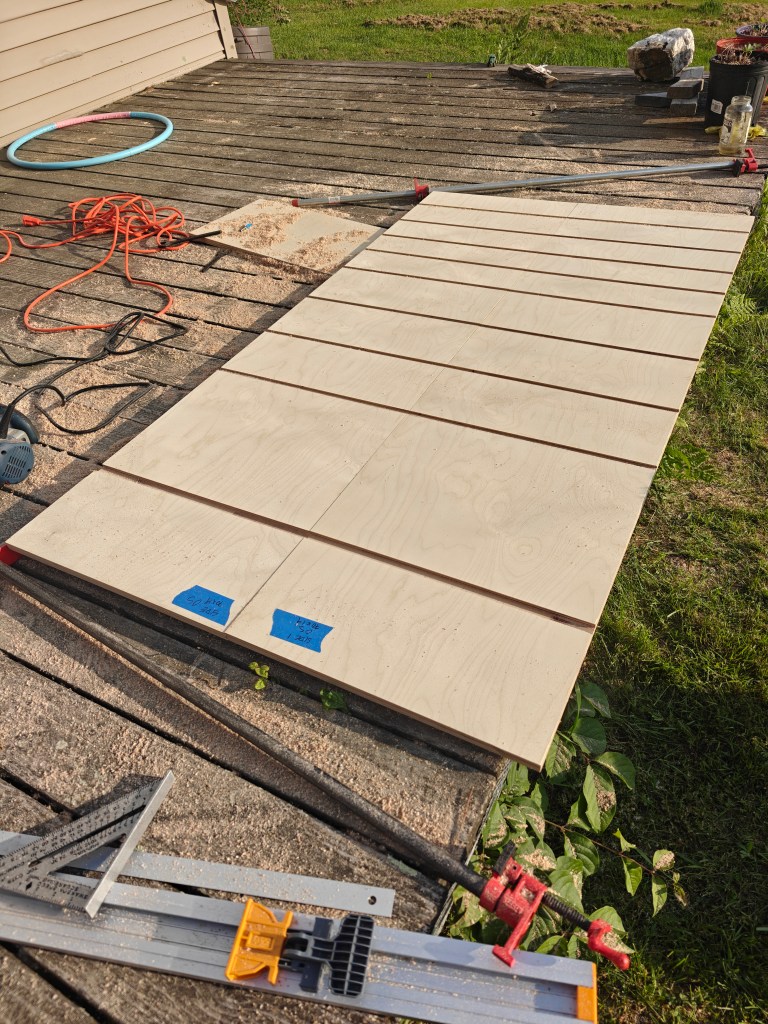
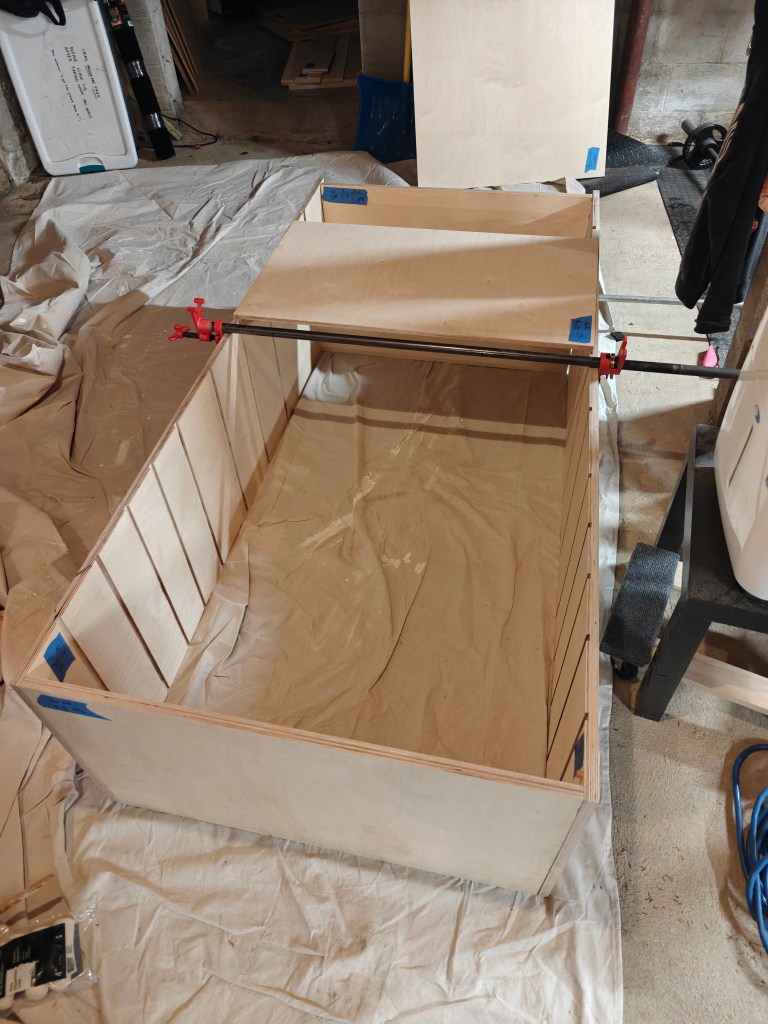
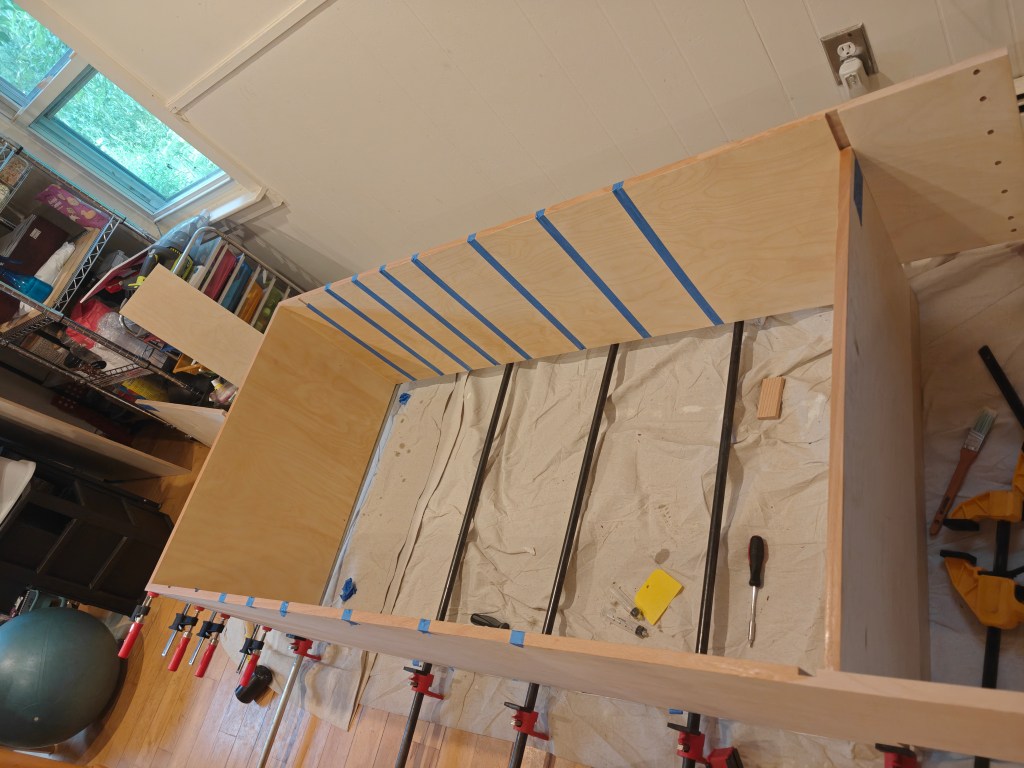
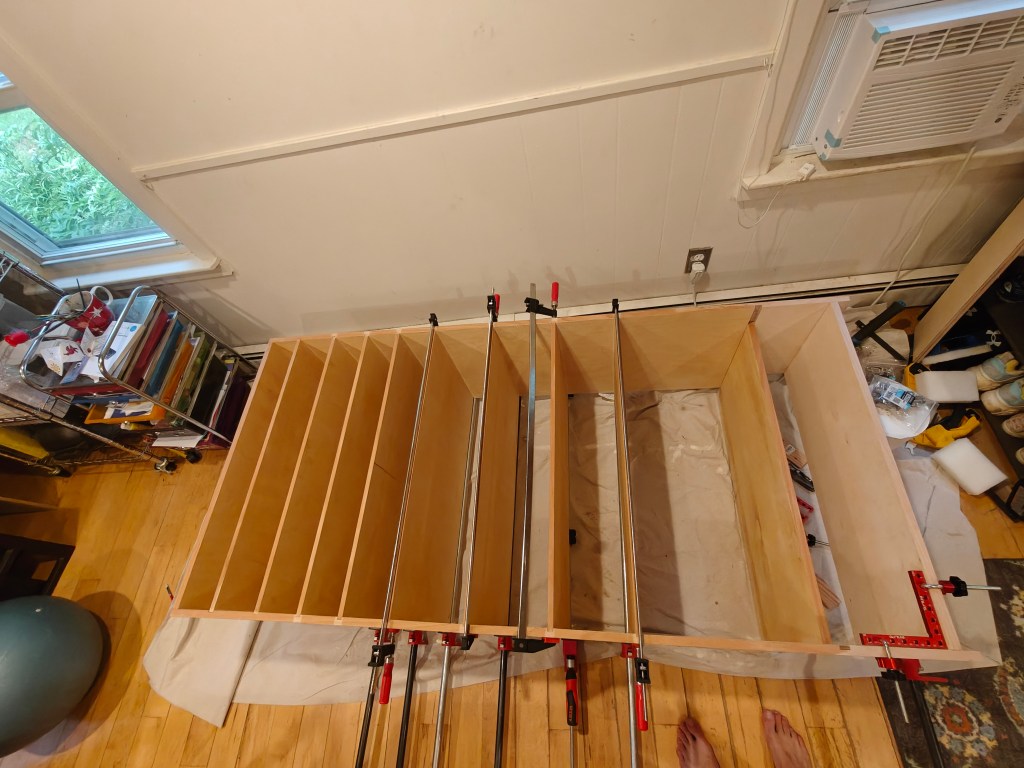
I’ll share some progress pics along with a few final images and learnings:


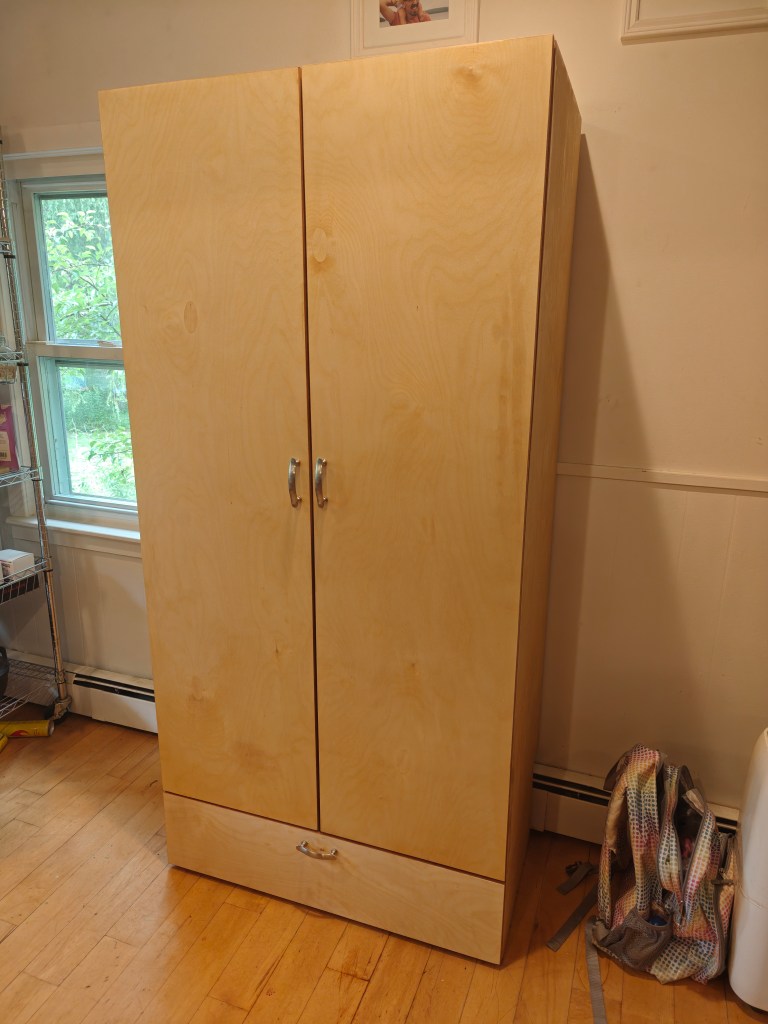
And finally, the finished product:
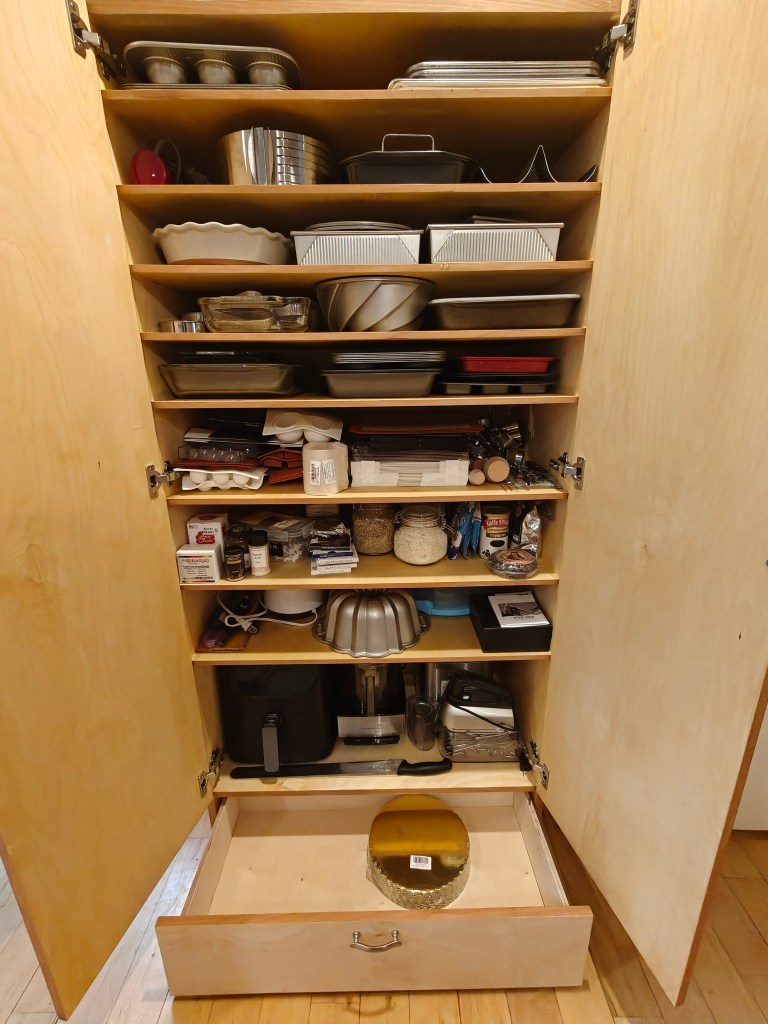
In the above image you can see why the top shelves are so tightly-packed (4″ between each): I designed them to hold a bunch of baking pans and sheets. The middle shelves (7″) are for holding bigger stuff, and the bottom shelf (14″) is for holding some tools to get them off our counters (air fryer, food processor, etc.). The drawer is for whatever.
Lessons learned:
Overall I’m pretty pleased with how it came out, but there were some takeaways:
First, I do not have a good handle on how long any of this takes. Over the course of this build I made many predictions about when it would be done, and most if not all of them proved to be wildly optimistic. As were my cost estimates…
Second, I dislike edge banding. I don’t know if it was the banding I bought, the tools I was using, or (most likely) user error, but there was a lot of tearout when I tried to trim the banding down to size with the Fastcap trimmer, and it resulted in a bunch of spots that look pretty ugly up close. Luckily many of them are hidden by the doors, but in the future I think I’ll just use thin solid wood strips rather than pre-glued veneer like this. That’s more hassle up front, but I think it’ll be easier to get a great-looking final product. (As this project went on, I started using the Fastcap trimmer only for a very light trim and then went over everything by hand, trimming it flush with a chisel — this worked better but still wasn’t perfect).
The next project promises to be much simpler, although it also needs to be more visually flawless: a coffee table.
