This one’s a bit of a rollercoaster, so strap in. It’s got mistakes, more mistakes, death (sadly, not a joke), and a result I’m very proud of, even though it’s not perfect.
After completing the kitchen cabinet, my next “serious” woodworking project was a coffee table, which I promised to have done in time for CY to host her book club. I wanted to make something nice, so I started by playing around with a few designs:


I knew the table would be rectangular, and after playing with some ideas for the legs I opted for the design in the bottom of the right-side image above. My plan was to make the top out of walnut and the legs from poplar, so I bought my materials and got to work.
(I forgot to take a picture of the materials before I started working, so please imagine three planks of 4/4 walnut and some crappy Home Depot poplar.)
Pretty quickly I had the top panel together. You’ll notice in the image below that one of the boards has a streak of lighter sapwood (as opposed to the dark heartwood) along one edge. A lot of people strongly prefer the darker look and would cut that lighter strip off, but I like this natural contrast. I chose that piece and put it on the edge of the tabletop intentionally.

After the glue had cured, I took it outside to cut off the uneven edge, rough-sand it all to relatively flat, and add roundover to the edges with a trim router.
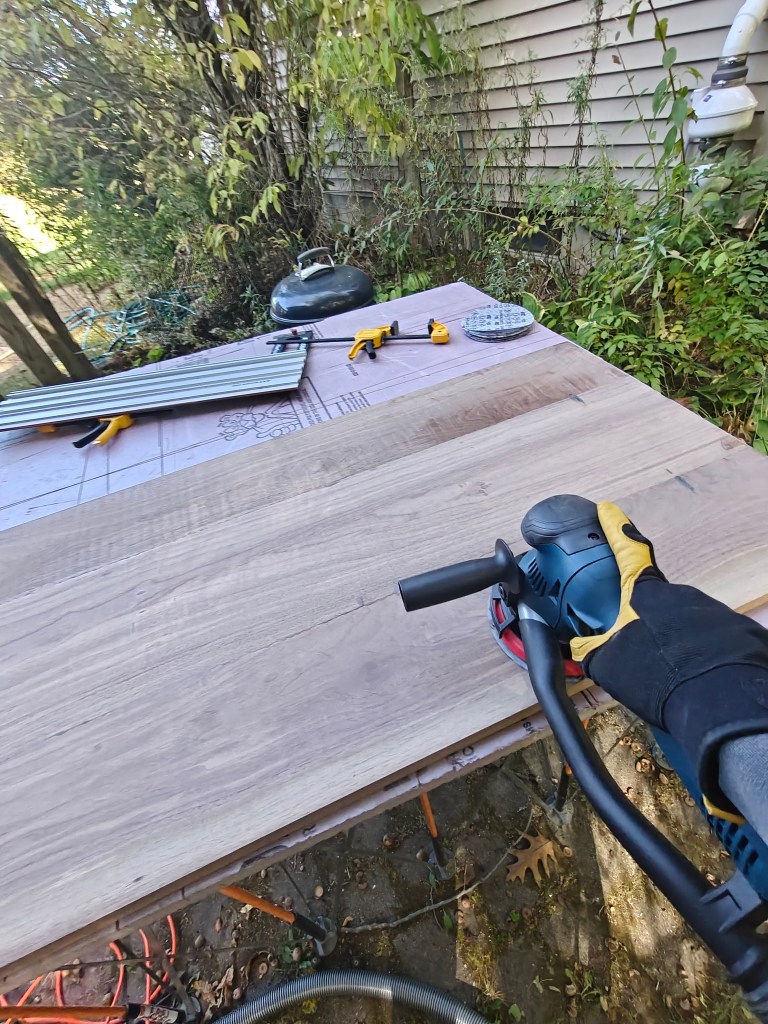
Not pictured above: the first mistake. I don’t have a proper track saw currently, so to cut the uneven end off the tabletop pictured above I was using my regular circular saw with a Milescraft track and attachment that makes it into something approximating a track saw. But it’s not a permanent conversion, and something must have come loose. The saw’s path somehow converged with and chewed up a bit of the aluminum track. Mercifully the wood was unscathed, but the track is toast. I guess I need to buy a proper track saw.
Anyway, with the table top in a decent place, it was time to move on to the legs. To get the angled look I wanted, I had to cut all the pieces to pretty precise lengths and angles, and I managed to do this without screwing anything up:

The poplar I bought was relatively thin, so for each leg piece (there were eight altogether) I glued two thinner pieces together, and once the glue was cured, I broke out the trim router to give them a nice edge roundover to match the tabletop.
That’s where mistake #2 happened. I got a little overexcited putting nice-looking roundovers on everything and didn’t really think about the areas where the pieces intersect that shouldn’t be rounded over:
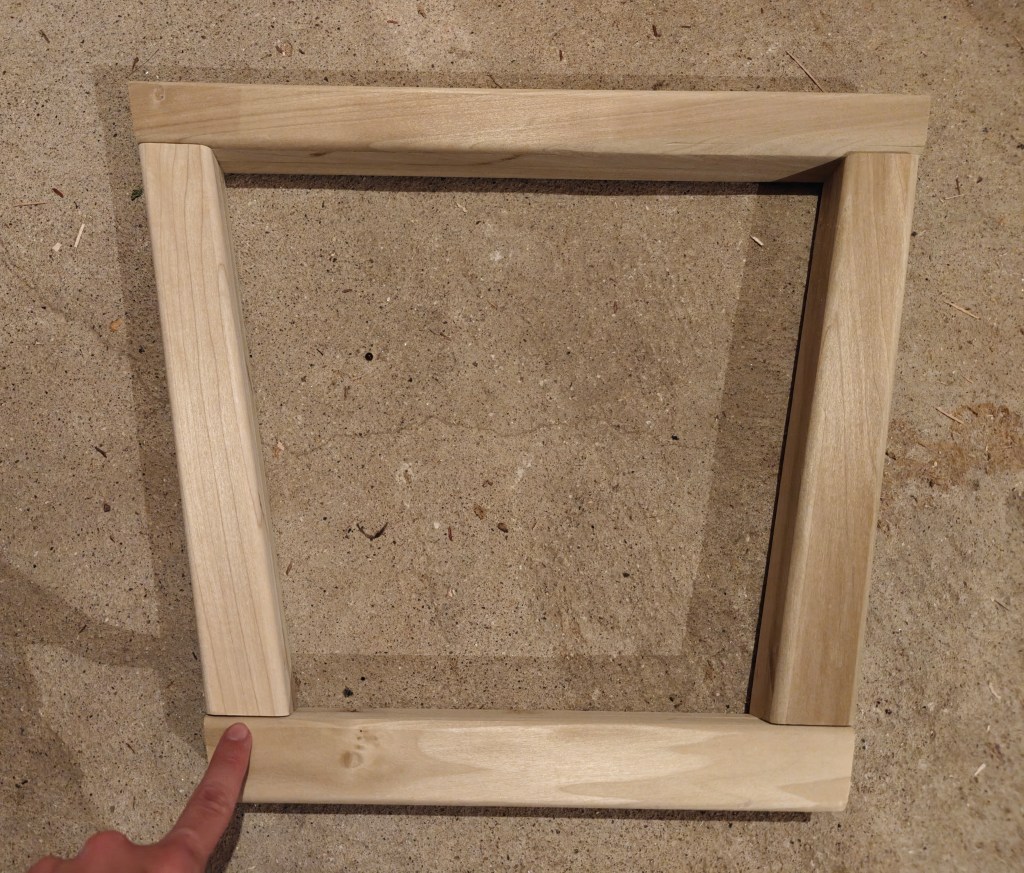
It may not be easy to see in the image above, but seams like the one I’m pointing to were meant to look seamless in the final piece. My router roundover recklessness had made that impossible.
In hindsight, I’m sure I could have made it work, but the truth is, I wasn’t really in love with this leg design anyway. So I kind of just let things sit. I left the pieces in the basement, ruminating on whether to try to salvage this approach or figure something else out for the legs.
Then life interrupted rather emphatically. First, a string of unrelated but unrelenting illnesses hit our family. In the space of a couple of weeks, we spent more time in medical facilities and got more prescriptions than we probably had in the previous five years combined. At the same time Maya, our 13-year-old German Shepherd, was afflicted with a condition that rapidly took her from relatively healthy to miserable and immobile. With the counsel of our local veterinarian, who treated Maya for almost her entire life, we ultimately made the decision to put her to sleep.

In truth, we were very fortunate. We got 13 and a half years with her — that’s more time than most German Shepherds get — and she passed at home, in peace, with us. But of course, it was devastating. Is devastating. I’m going to stop writing about it, mostly to spare myself.
Anyway, for whatever reason, her death made me feel like the coffee table I was working on could be, and should be, a tribute to her. And that meant that I wasn’t going to try to make do with the legs I’d screwed up, because I had never really loved that design anyway. I wanted to do something more unique, more dramatic. Something that felt, on some level, worthy of her.
So, I went back to the drawing board with leg designs. I scoured the internet for inspiration, and sketched out a bunch of different ideas, most of them bad.
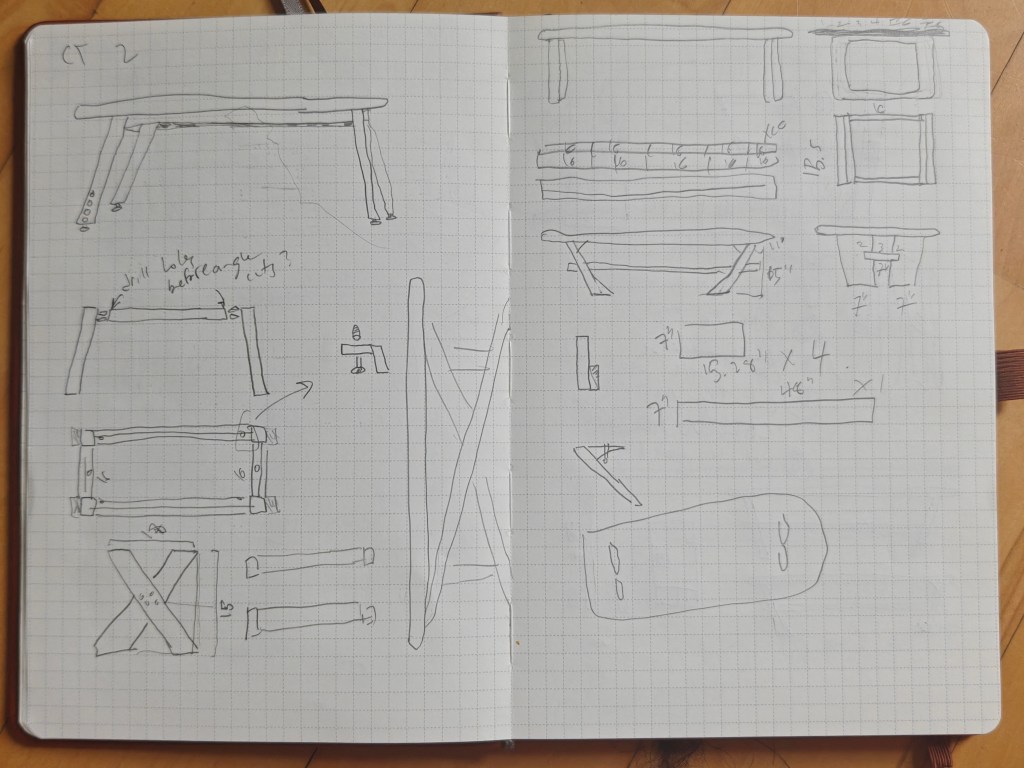
I knew I wanted the table, somewhere, to have an inlay of four brass “dots”, subtly representing the letters M-A-Y-A. But I wasn’t sure what I wanted to do with the legs until I stumbled across this dining table. As you’ll see, I didn’t really adopt that design, but something about the look of the wide, inward-slanting slab-legs captured my imagination.
After a bunch of additional messing around with designs, I landed on the profiles you see in the two lower sketches here:

Now, I’m sure this isn’t a wholly unique design. Maybe it looks exactly like some other table (if it does, don’t tell me). But I came by the idea honestly, and I was excited about it.
It also felt very appropriate. The inward-slanting legs and the through-line of the lower shelf both felt vaguely reminiscent (to me) of some Chinese architecture. Maya joined our family literally days after my wife and I had moved to the US from China, and she was really important to both of us in what was sometimes a pretty difficult transition.
Anyway, now I had a design I really liked, but this presented a number of other problems. Among them:
- How do I make it? This design requires precise, angled cuts with no margin for error, especially for the “through-shelf” element, which I felt needed to be coming through the legs on both sides, not simply sitting between them.
- Do I have enough material to make it? I wanted to make the through-shelf out of ambrosia maple, which I felt would create a really interesting contrast. But like walnut, ambrosia maple is not cheap, so I didn’t want to also have to buy more walnut to complete this project. I wanted to make it happen using the walnut left over from the tabletop.
(Nerdy wood side note: ambrosia maple isn’t actually a species of maple, it’s maple that contains dark streaks caused by a fungus brought into the tree by wood-boring ambrosia beetles. Sounds gross, but it looks really cool. And all the wood is kiln-dried; any bugs or fungi in it are long dead).
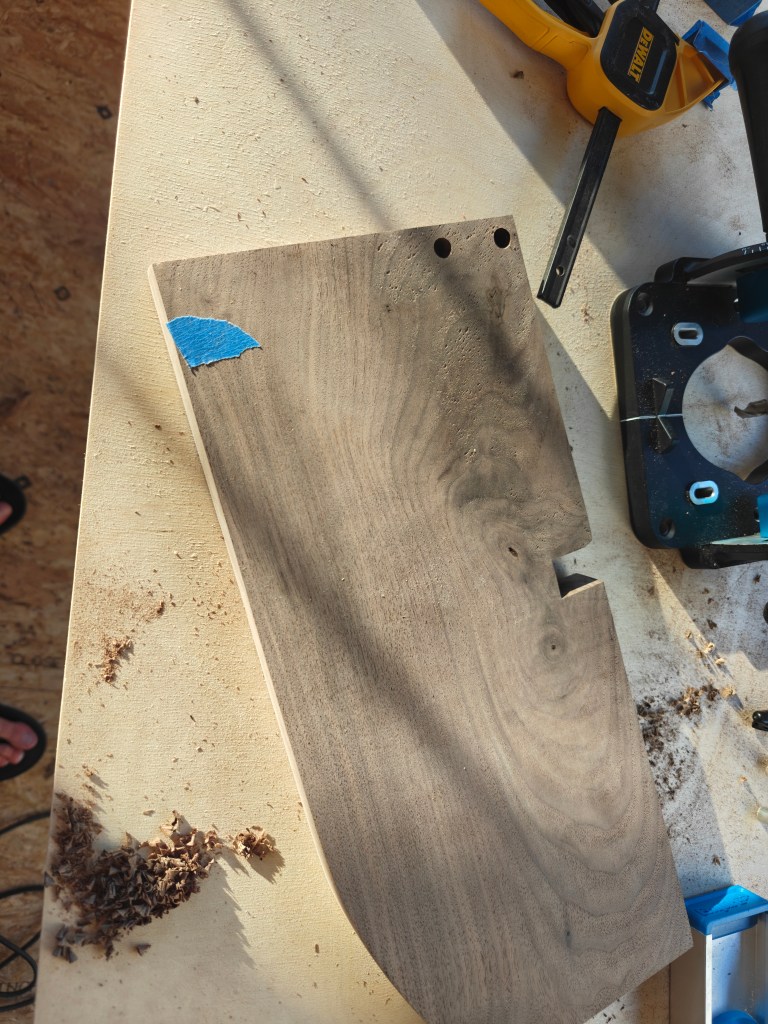
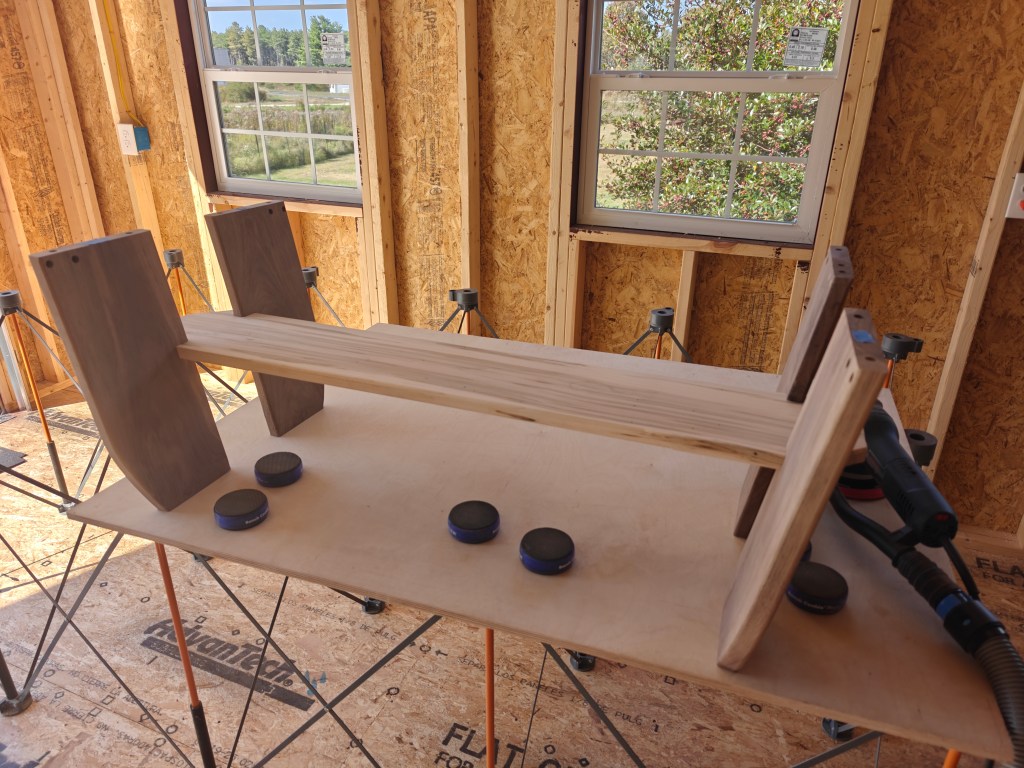
Some quick measurements confirmed that I could make it work with the walnut onhand, albeit imperfectly. I didn’t have any long enough pieces to form the stretchers/aprons between the legs (which also serve to help attach them to the tabletop), but I could make each side out of two separate pieces and dowel them together. There would be a seam, but it’s the underside of a coffee table, so I was willing to live with that.
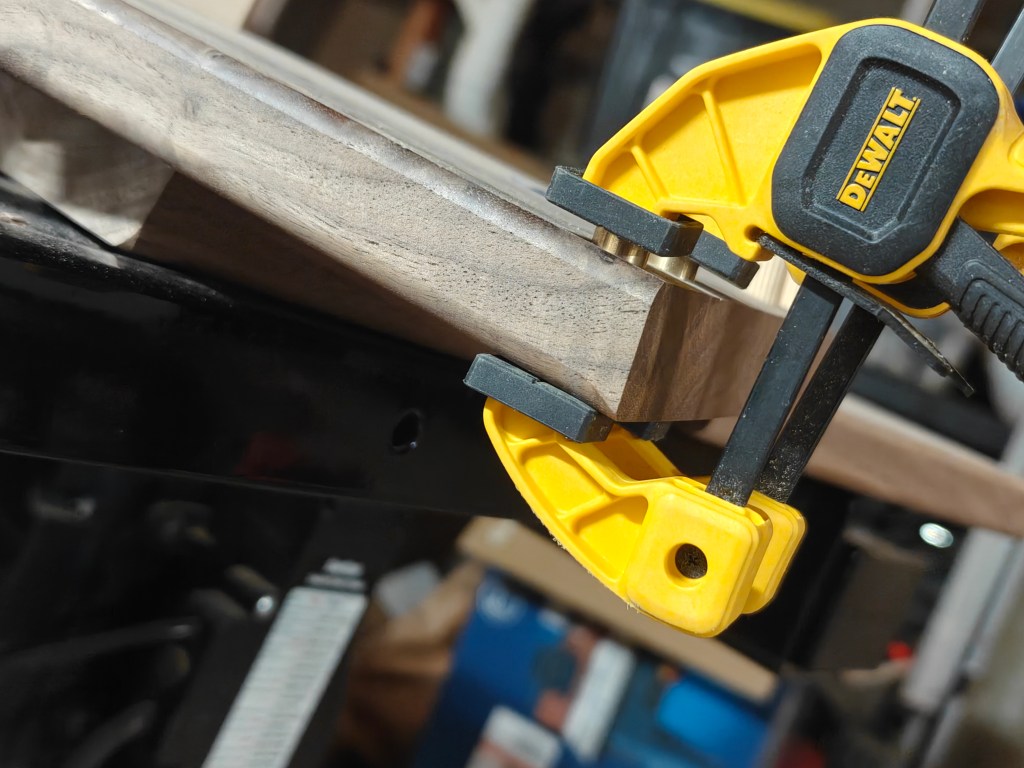
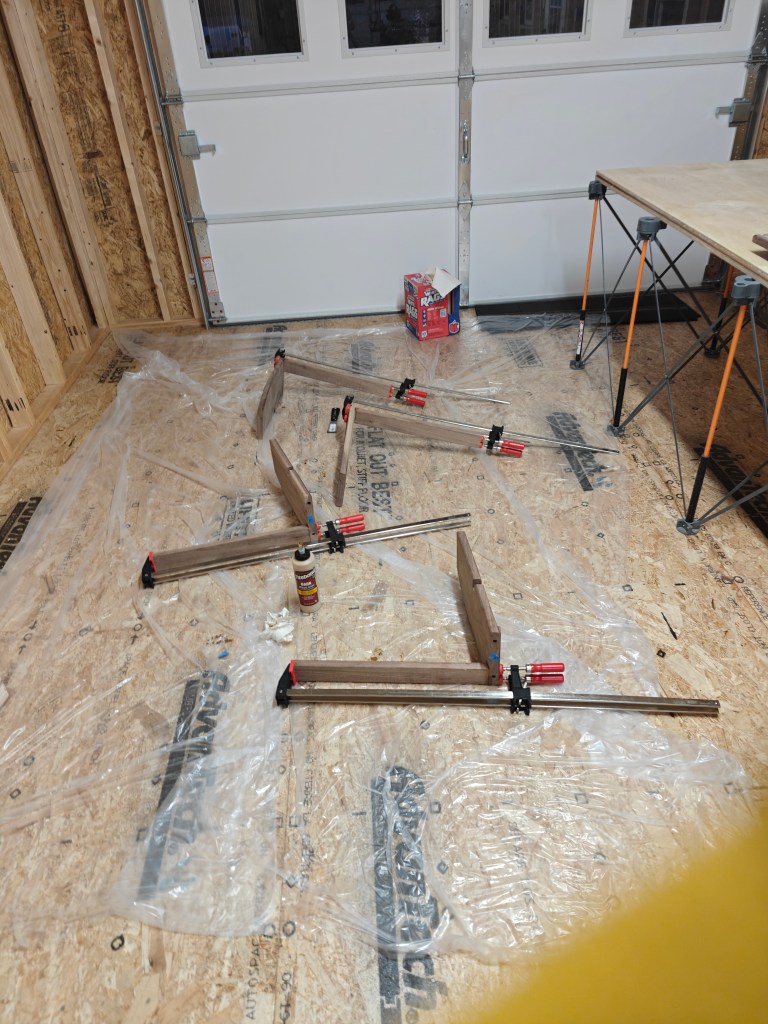
Making the cuts proved trickier, both in terms of wrapping my head around exactly where I needed to cut, and then how I could make those cuts accurately. My original plan was to use a handsaw, but a test on some scrap pine confirmed my fears: I am not accurate enough with hand tools. So I needed to figure out a way to cut out an angled mortise (sorta) with a table saw:

The answer, pictured above, isn’t rocket science, and is likely obvious to more experienced woodworkers. But this is one of the things I’m finding I enjoy about woodworking; each project presents you with new problems to solve. My job never involves solving problems with physical space like this, so it’s like flexing a new muscle.
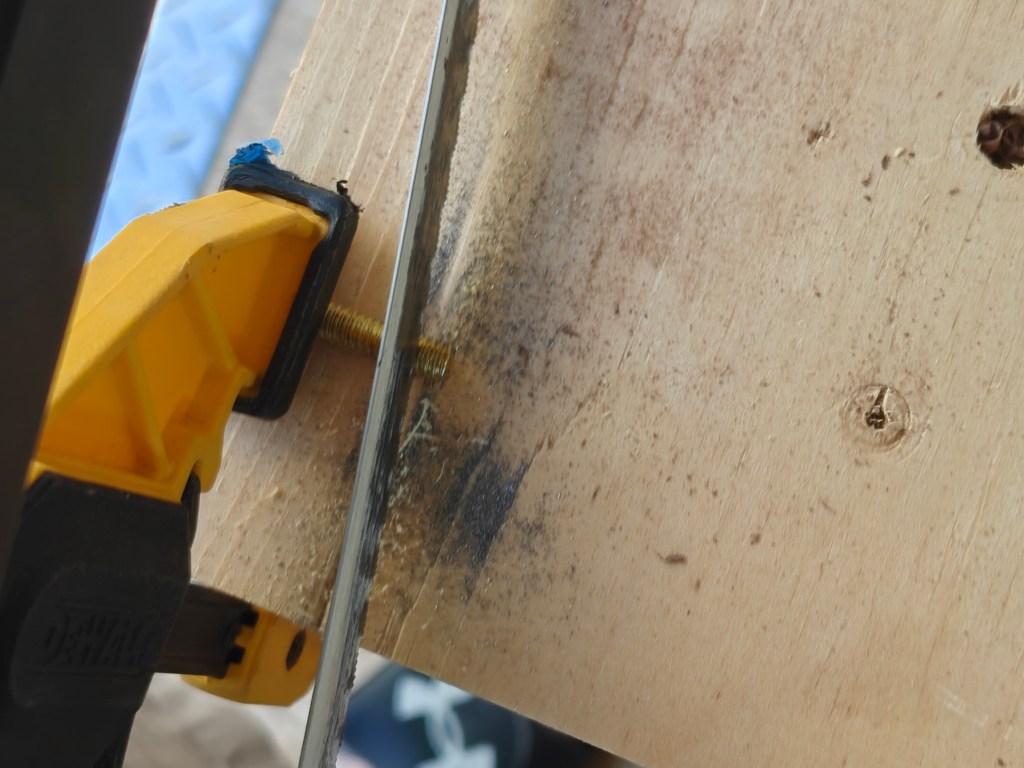
And of course, cleaning up cuts with the chisel is always satisfying:

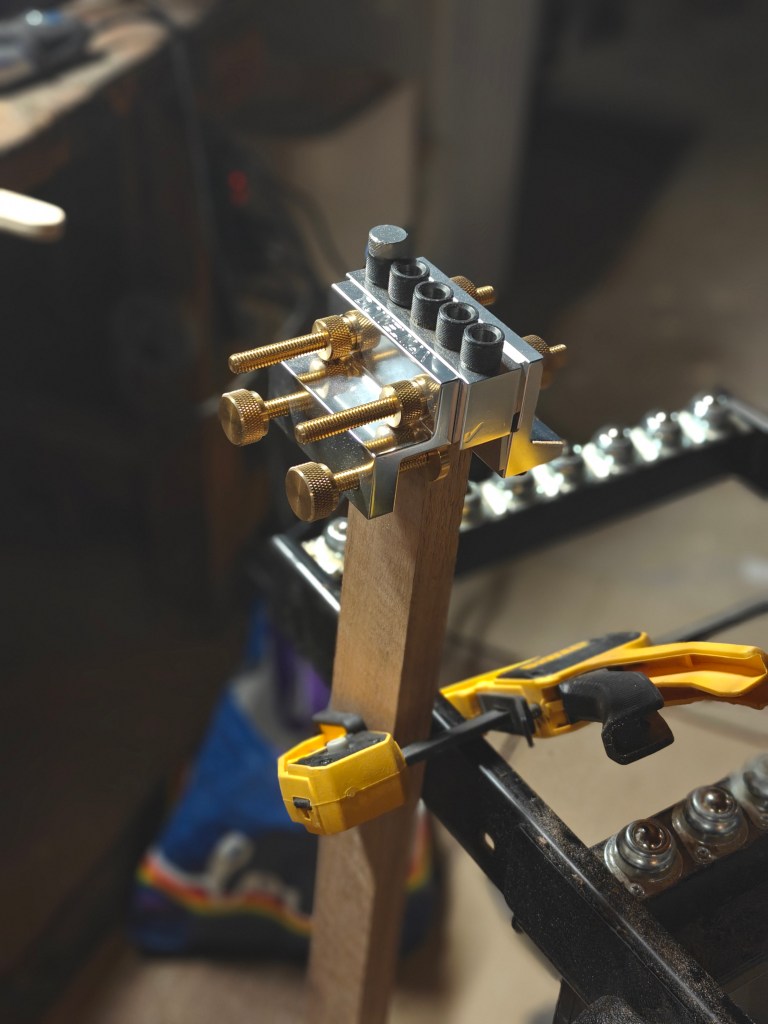
Then, along came another mistake. As I was drilling dowel holes to attach the apron parts to the legs, I carefully put blue tape on the side of each leg I needed to drill. And then, of course, I drilled holes on the wrong side of one leg anyway:
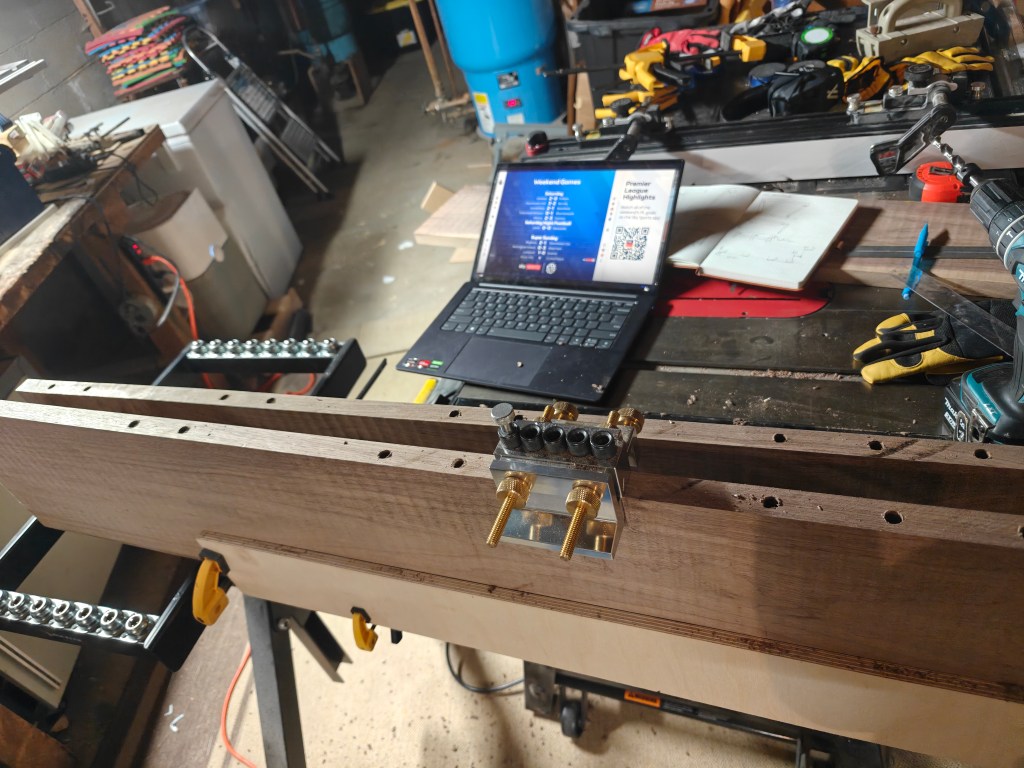
But, to borrow a phrase from Bob Ross (and one of my coworkers when I mentioned this mistake), this ended up being a happy little accident. The dowels I used for this project are 3/8″ in diameter, and so was the brass rod I wanted to use for the “dot” inlays. These two holes, located in a spot that would be right under the tabletop and basically invisible to anyone who wasn’t lying on the floor, presented a good opportunity to test whether my approach to the inlays (1) would even work at all, and (2) would look good.

Long story short, I learned that it did work and would look good. (If anyone wants to use brass inlays in wood, here’s what I learned: use epoxy to hold it in place, not superglue. Use a dremel with a grinding attachment to get it close to flat with the wood and then sand to progressively higher grits (I stopped after 800) to make the brass surface look relatively smooth again.
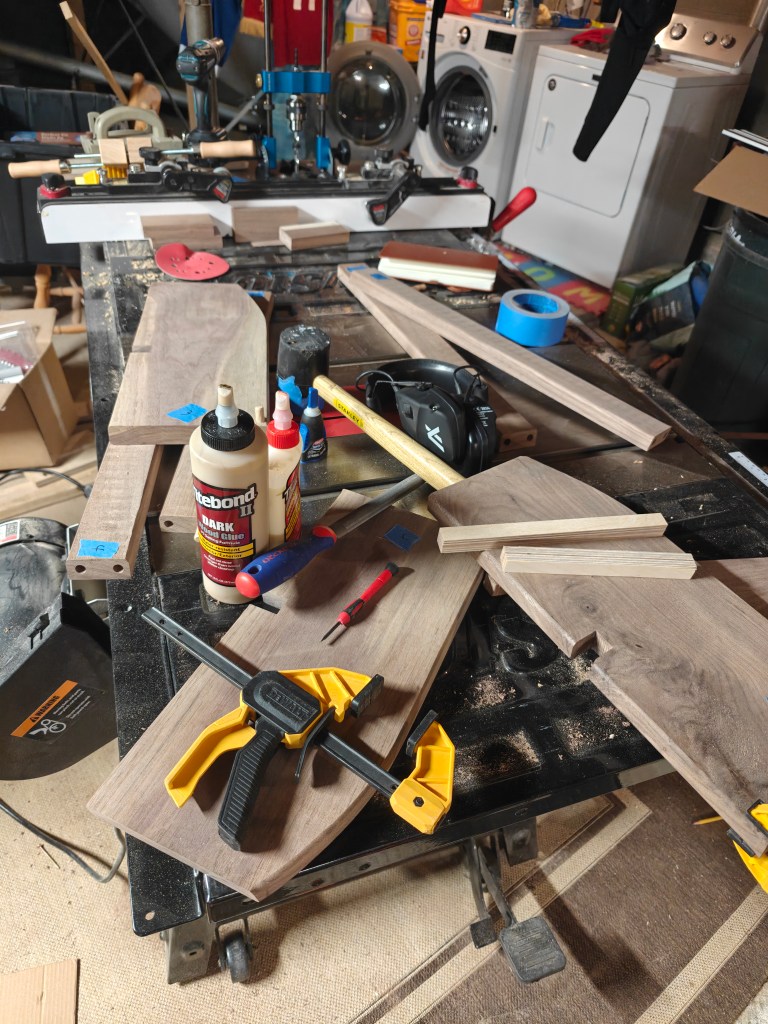
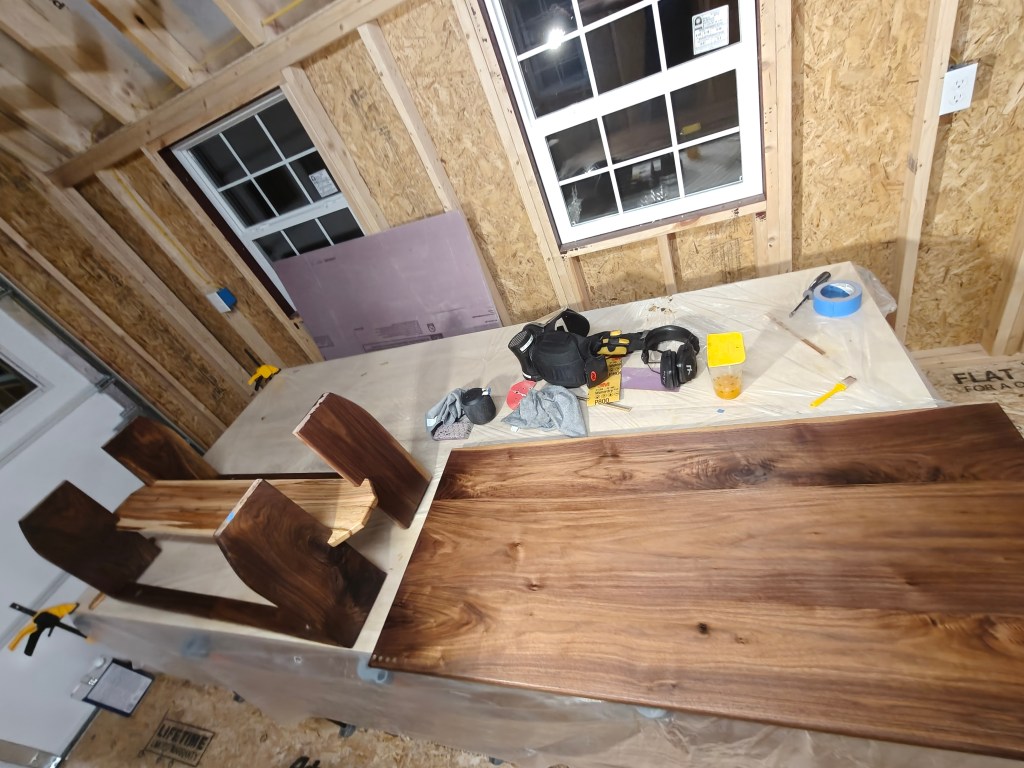
At this point, my “shop” (read: basement) had become a bit chaotic:
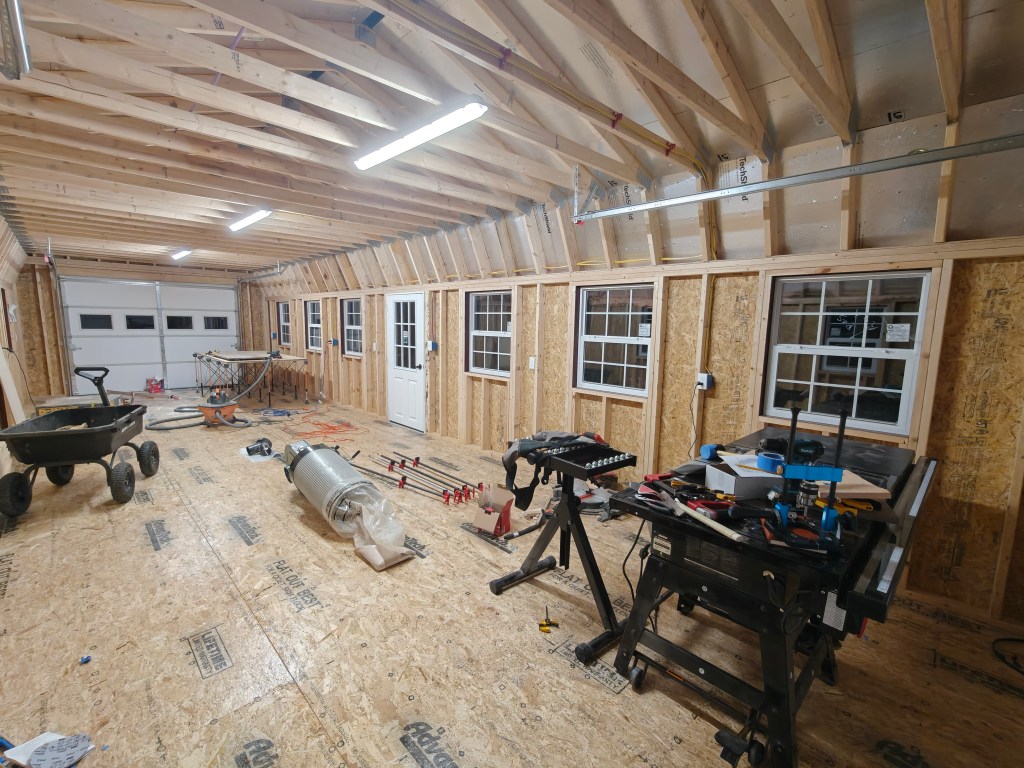
Also, our basement is a pretty terrible place for woodworking — low light, low ceilings, very little airflow. Luckily, earlier in the summer, we’d purchased a shed (way cheaper than building an extension) for me to use to build out my shop, and the electricians had finally gotten around to wiring it:

Yes, it’s weirdly long and thin, but this was the most economical way (by far) to get what ends up being a pretty sizeable shop! So I was finally able to start moving operations in. This also allowed me to work on the table on weekday evenings without disturbing folks in the house or waking anybody with loud power tools.
And from there, things started coming together. Things going smoothly is not as interesting from a narrative perspective, so let’s just look at some pictures, shall we?


Pictured above, a slight mistake. While I did use the Dowelmax to create a straight line of dots to drill on, I didn’t actually align my drill guide with a straight edge when drilling the holes, so the dots are slightly out of alignment. But fixing that would require either making the table narrower, which would change the look, or patching the tabletop, which I think would look worse, so there was really nothing for it but to continue.


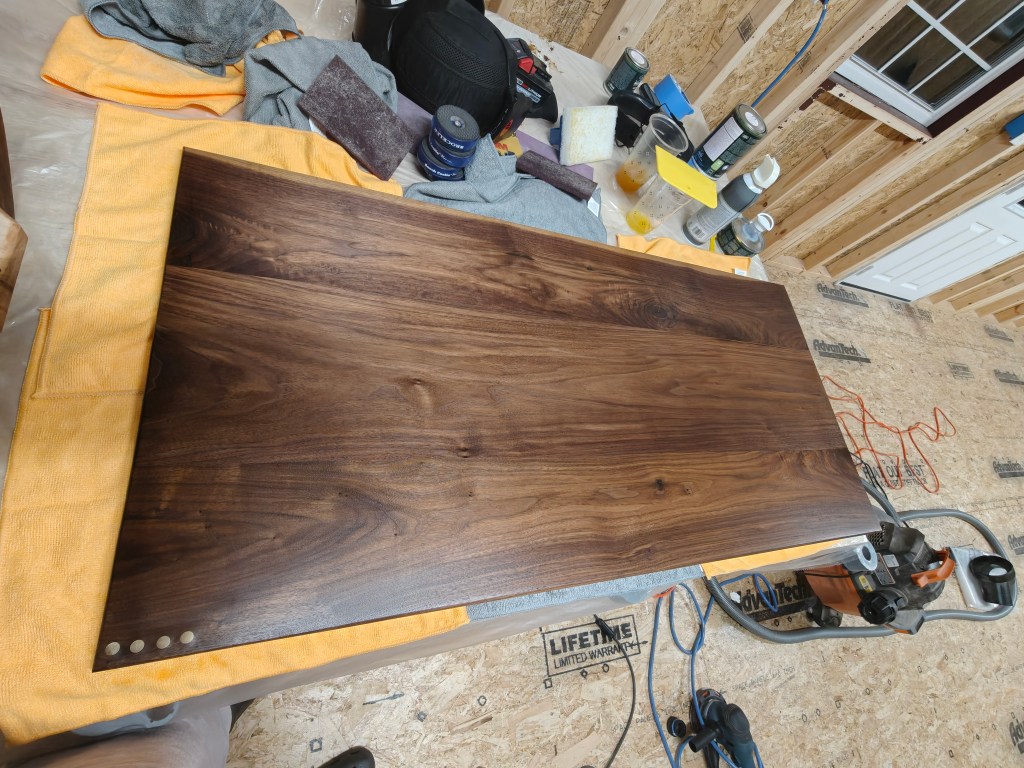
After a bunch more hand-sanding to clean up glue spillout like the dark spots you can see in the seams in the picture above, it was time for one final test fitting of everything before finishing and assembly:

To finish the table, I used Rubio Monocoat for both the legs and the tabletop. “Monocoat” is a bit of a misnomer, though: I did only use one coat on the legs, but walnut is a thirsty wood, and I ended up doing a second coat on the tabletop.

I mean come on, it’s crazy how much better this looks all of a sudden, right?
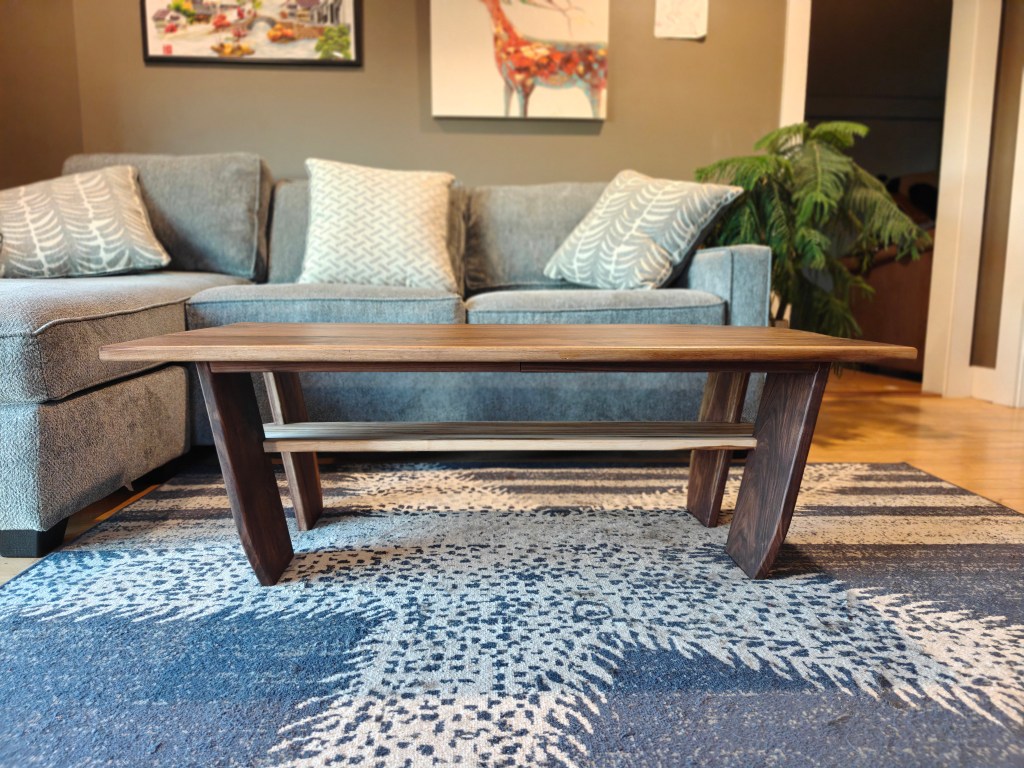
And, finally, here’s what the finished piece looks like:


Update: Here’s a picture of the table actually in use, as well as some coasters and a coaster-holder I made of leftover ambrosia maple and walnut, respectively:


The coasters and coaster holder are a bit rough as I made them kind of on a whim, in the span of a couple hours and without any proper design. Totally functional, just not as precise (or smooth) as they might be if I’d taken bit more time
Although it’s far from perfect, I’m very proud of how this came out, and I’m also very proud that I came up with what I feel is a unique design that has connections to our family “story.”
But at the same time, I do want to get better as a woodworker, and this blog is mostly notes to myself anyway, so here are all the things that I messed up or that aren’t perfect in this final product. Someday, maybe I’ll make a v2 that corrects these mistakes (and, I’m sure, introduces some new ones):
- The inlaid dowels aren’t perfectly aligned. It’s very minor and I think the curvature of the grain actually makes it look worse than it really is, but still, this wouldn’t have happened if I’d drilled with the guide against a straight edge.
- The section with the inlaid dowels is perfectly smooth but not perfectly flat. I am not sure why this is or how to address it in the future, but I love the look of brass inlaid in walnut so I will need to figure it out.
- The aprons are in two pieces on each side; one whole piece would have looked better and wouldn’t have added that much to the cost.
- There is one edge on the aprons that I roundover-routed when I shouldn’t have (did I learn nothing from the first set of legs??).
- The dowels holding the legs to the top didn’t all align perfectly. This is invisible and also doesn’t matter from a practical standpoint; no one would ever know if I didn’t tell them. But I know (and now so do you, I guess).
In addition to fixing the above mistakes, if I were to make a table with this design again (and I might), I would seriously consider making it with thicker wood across the board. Maybe starting with 6/4 or even 8/4 walnut (meaning 1.5″ or 2″ thick planks). And I also might try to add some more natural curves, especially into the top of the legs from the tabletop.
Up next: I’m not sure. I’ve promised CY at least one more kitchen cabinet; I want to build something more interesting than another plywood box, but it also has to fit in our kitchen and with the other cabinet aesthetically, which might be a challenge. I’m also thinking of making a chessboard for my daughter for Christmas, and the room with the coffee table has at least three other pieces of furniture that really could use replacing.
But I also desperately need to build out my new shop a little, as it currently has no real workbench, the miter saw is sitting on the floor, the dust collector is sitting on the floor, several tools are still in the basement… so I may start there.
