Shorter updates on a bunch of completed projects.
TV stand
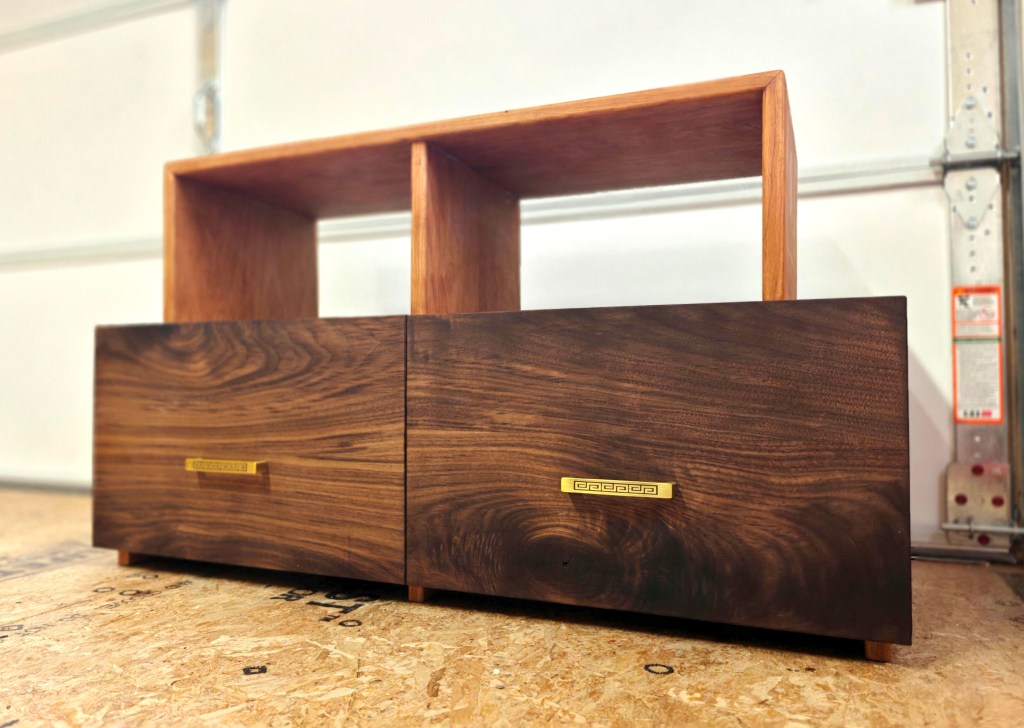
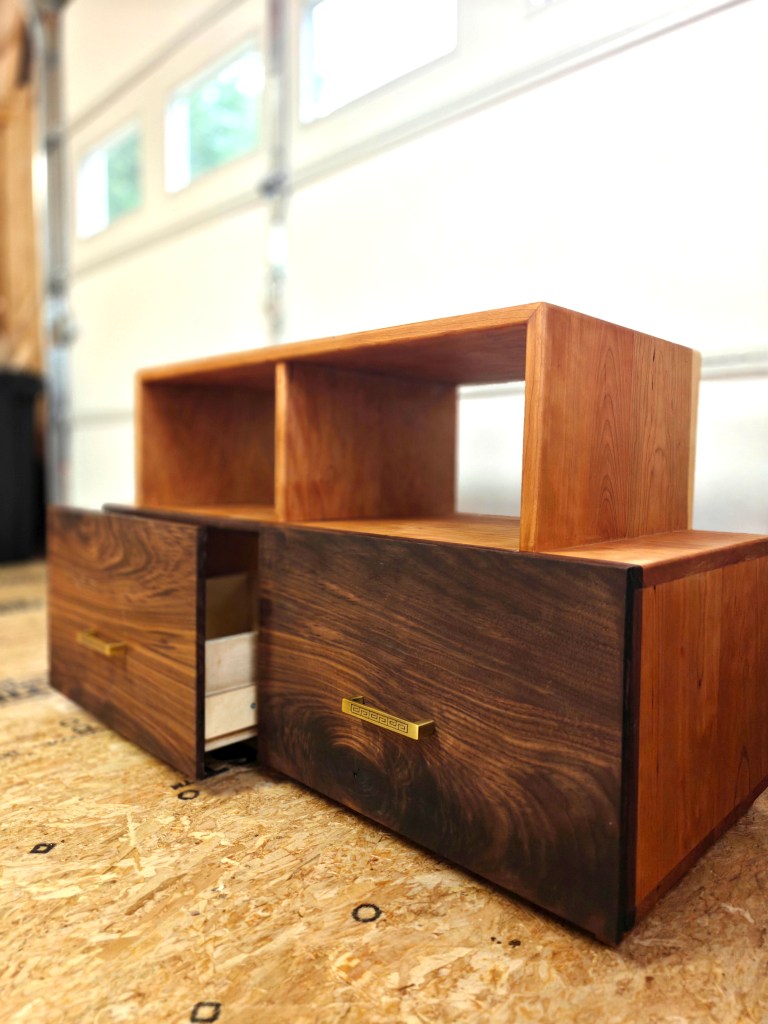
This is a long (years) overdue housewarming gift for my brother and his wife, a TV stand made with walnut, cherry, and brass handles. Although it looks (and is) relatively simple, it was deceptively tricky to make, in part thanks to my own stupidity. In the image below, you see me pointing to the central divider between the two drawers
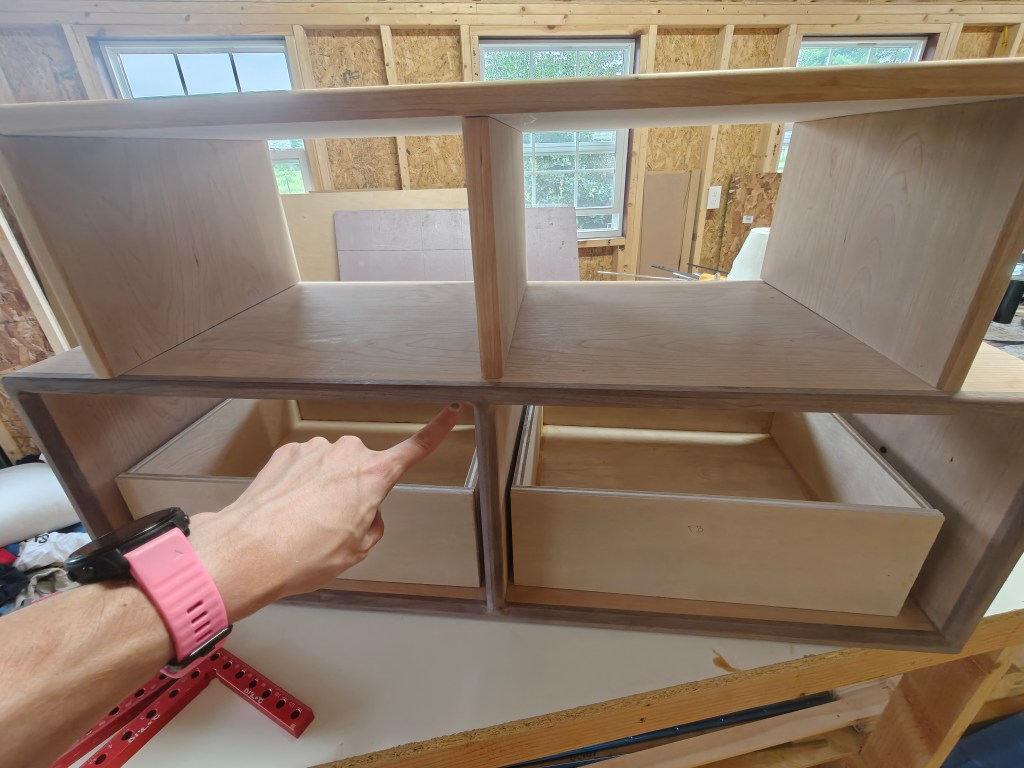
When I glued this in, I somehow totally forgot to check whether it was actually square, and consequently, it wasn’t. This made fitting the drawer boxes much trickier, since the width at the front of each drawer container is different from the width at the back. While I got it to work using wooden sliders, the drawers have quite a bit more slop to them than I’d like.
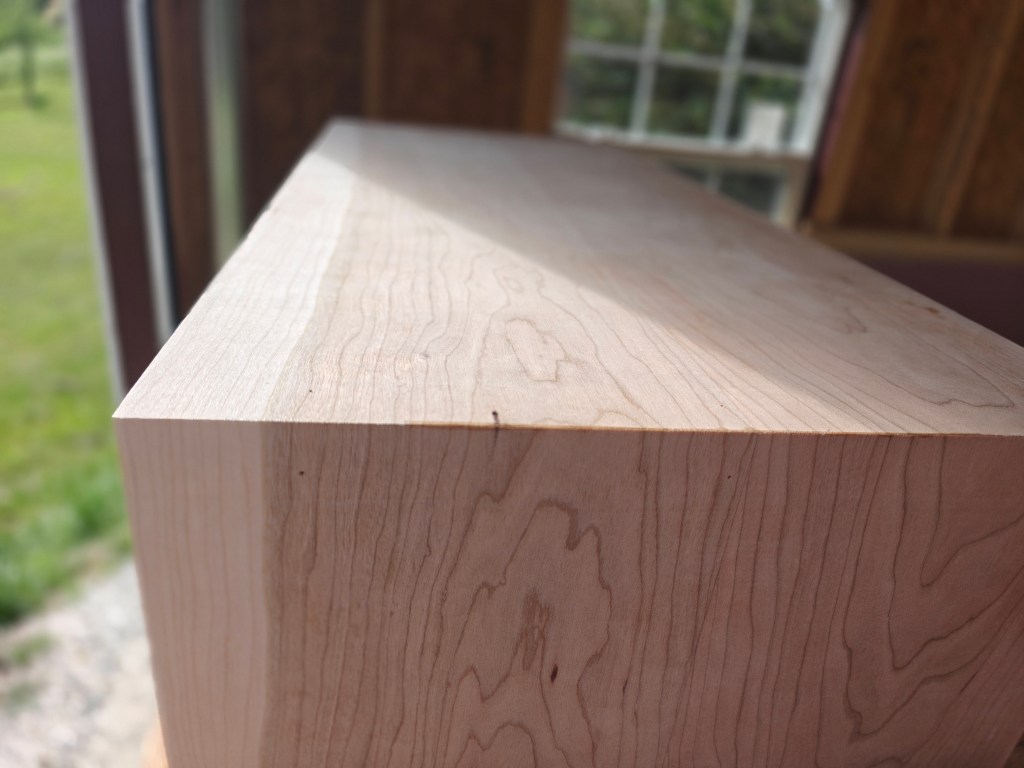
On the upside, this project had my first-ever attempt at a waterfall edge. It turned out pretty well, although I did have to add a roundover since they have a young child and sharp edges aren’t a great feature in a house with young kids. But this technique will be relevant later in this post!
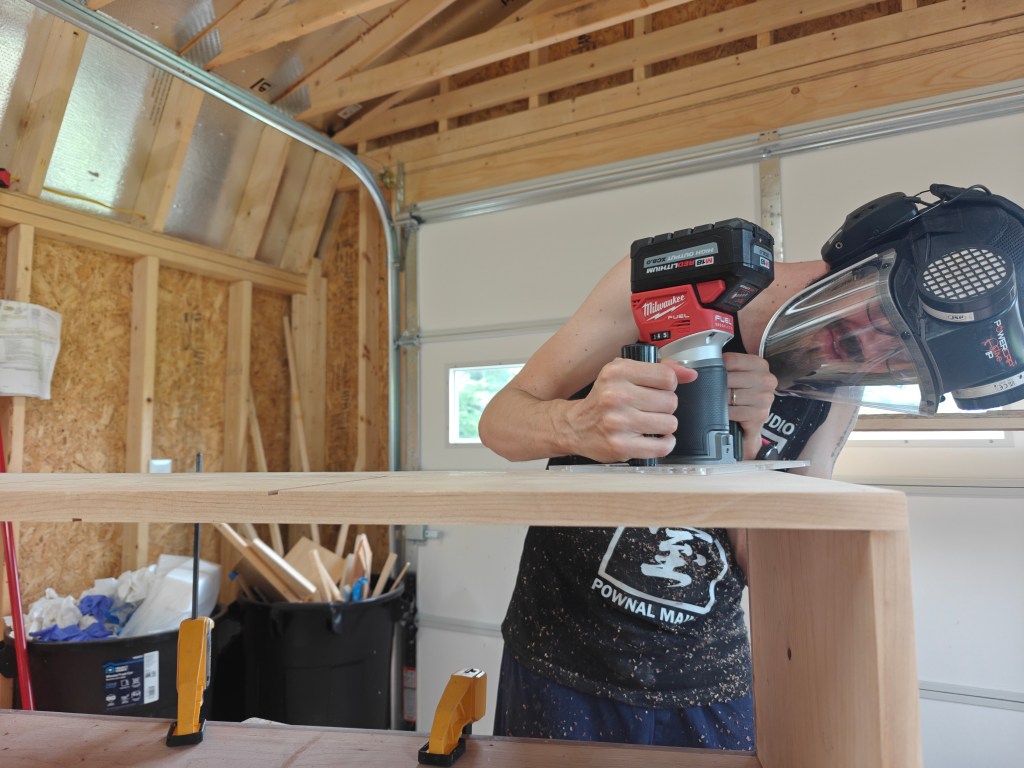
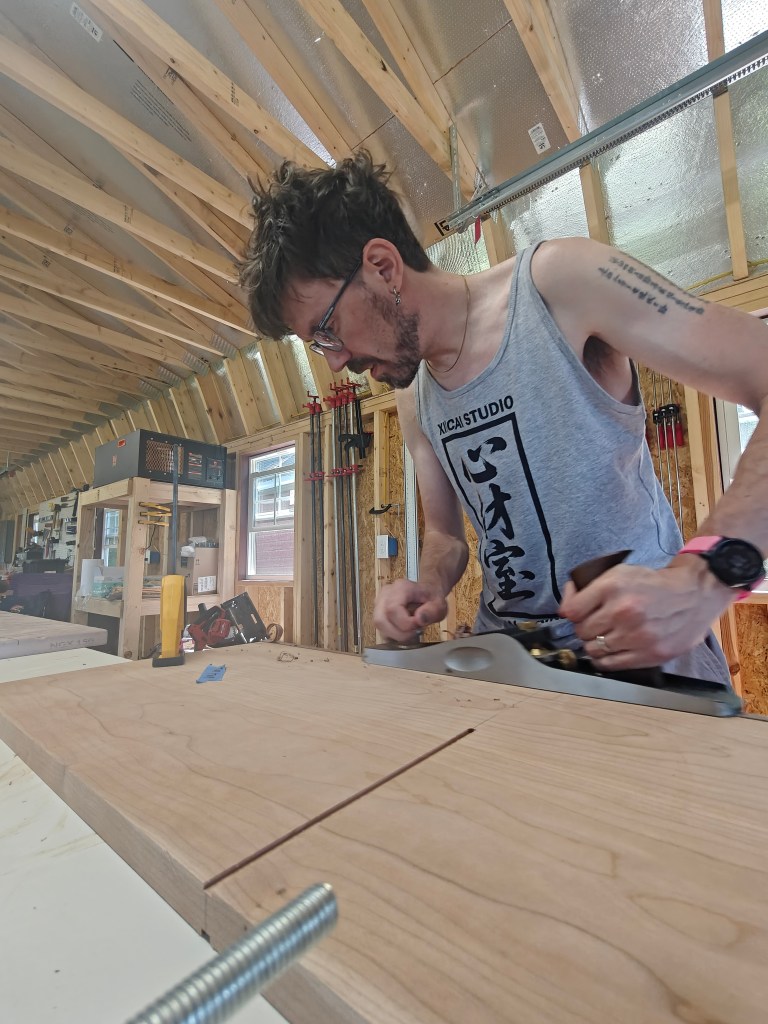
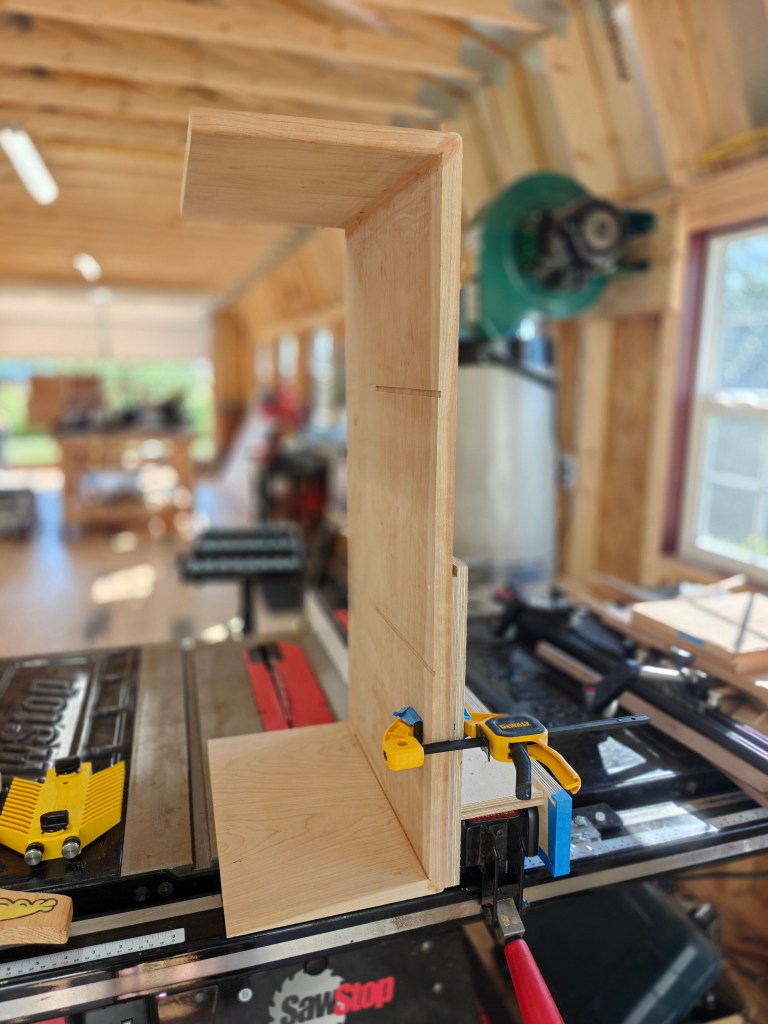
Overall, as with every project I’ve done, I learned some things and made enough mistakes that part of me would like to scrap it and start the whole thing over. But it does look pretty good.
“Lilly” lamp
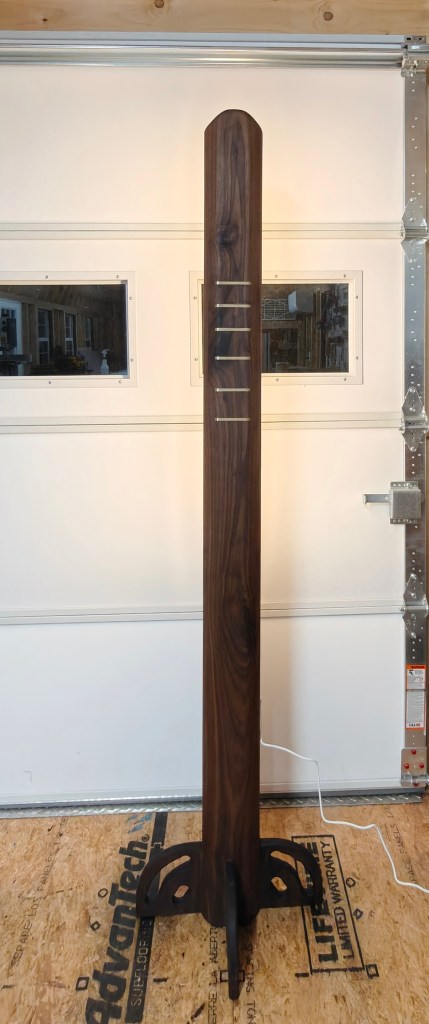
This project was a bit of a boondoggle. I figured I’d just kind of wing it and use some leftover walnut to make a lamp. I had a design in my head and an idea but I didn’t really draw it up fully, and crucially, didn’t really test the idea. The result is a lamp that generates a truly pathetic amount of light given what its materials cost.
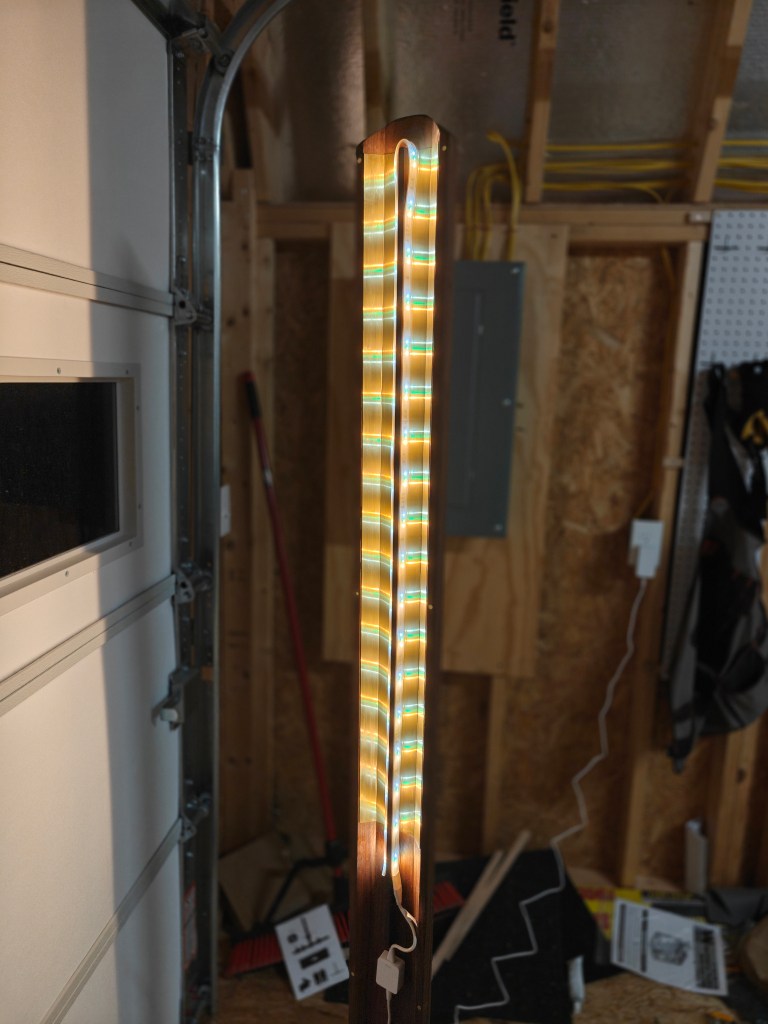
It’s designed to have this side facing the wall: a Phillips Hue LED strip with brass plating to reflect the light outward. As I got closer to finishing it, I got concerned this orientation wouldn’t generate enough light so I also made a magnetic cover for it that allows it to be oriented the other way:
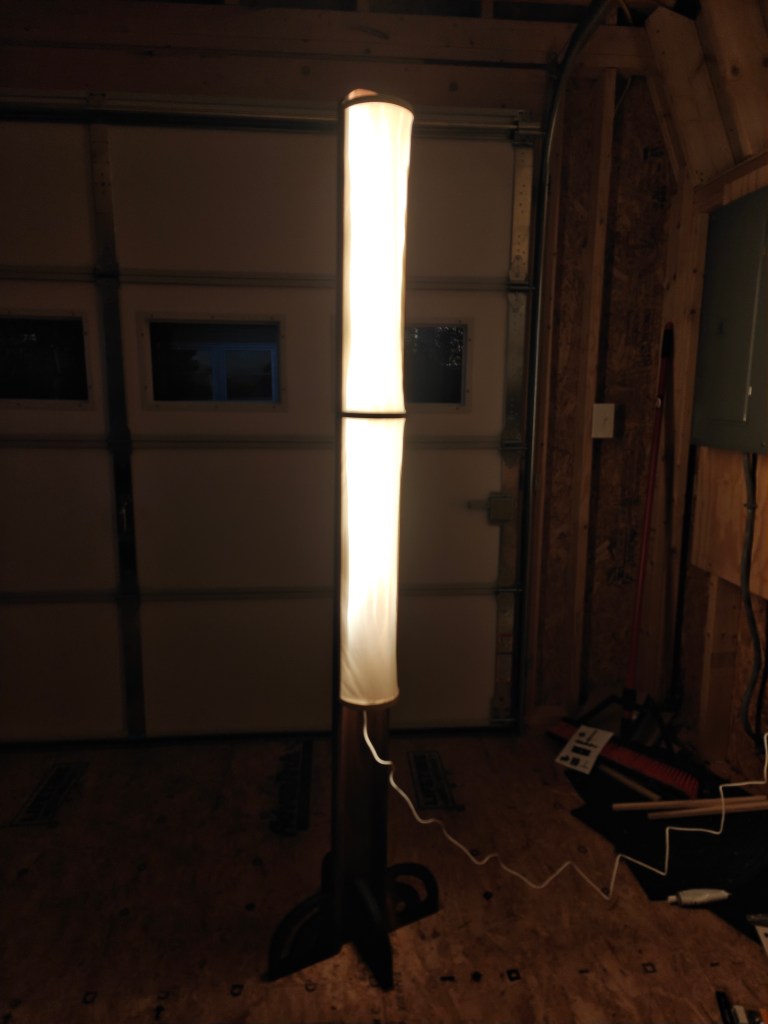
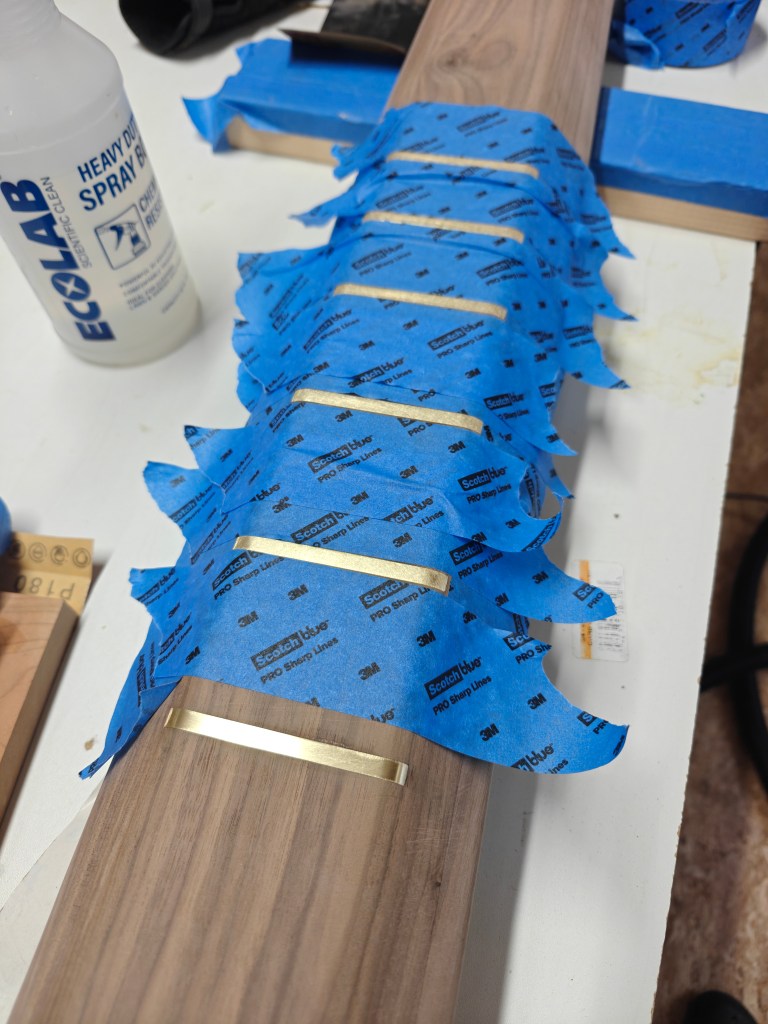
But the shade looks sloppy (my first time working with cloth like this), and it still doesn’t generate much light. Orienting it this way also hides the element that makes it the “Lilly” lamp: these brass inlaid strips set out to mark my daughter’s heights from the ages of five to ten:
And at the end of the day, while it doesn’t light up a room, it is a pretty cool accent light with the phone-controlled LED colors:
Desk organizer
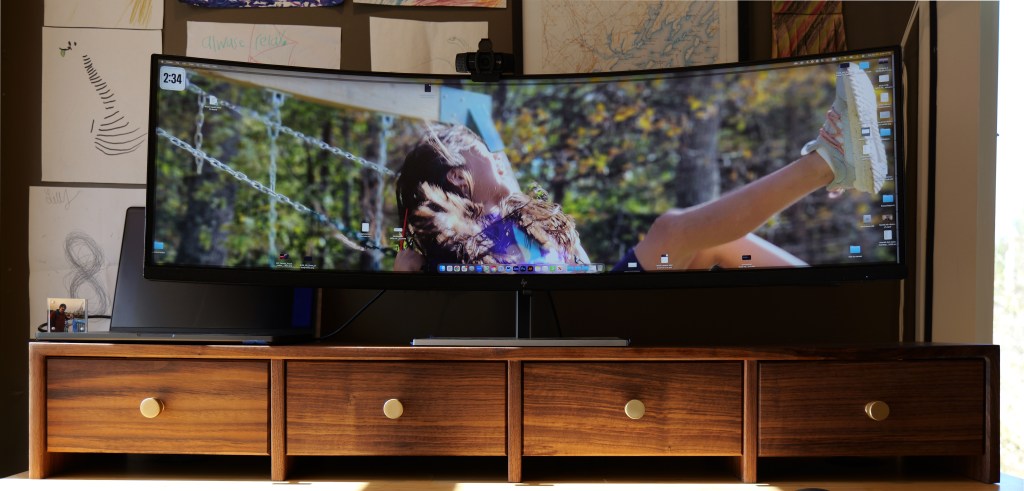
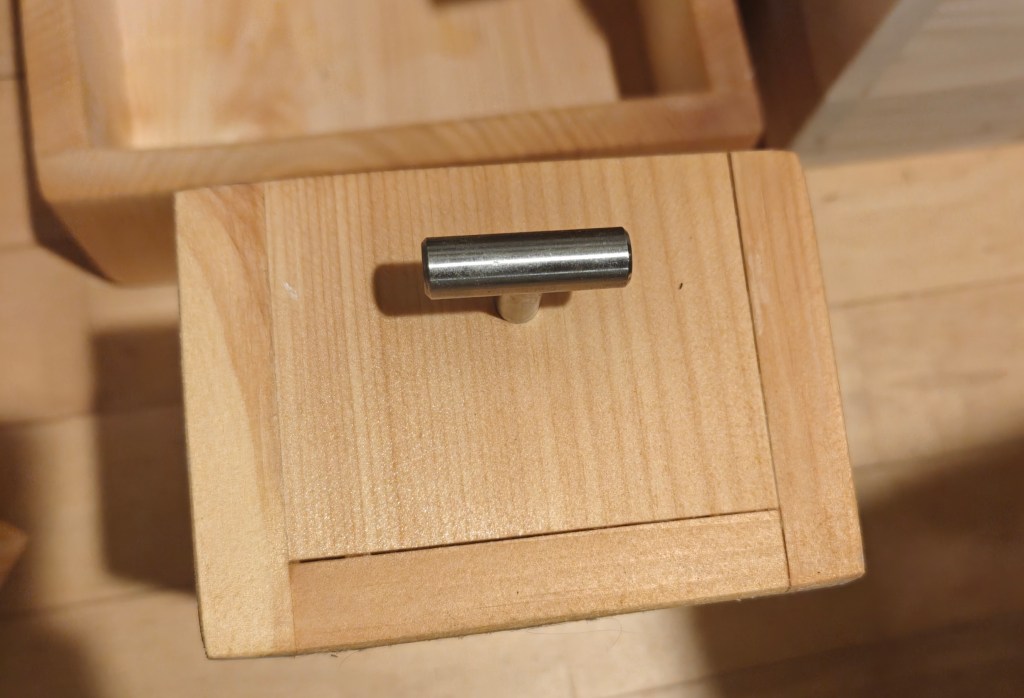
Very early in my woodworking journey, I made a desk organizer out of pine. It wasn’t particularly well made or thought out. The drawers looked awful without faces, and they slid along the desk’s surface, meaning that to actually open one, I usually had to move my keyboard and mouse off the desk.
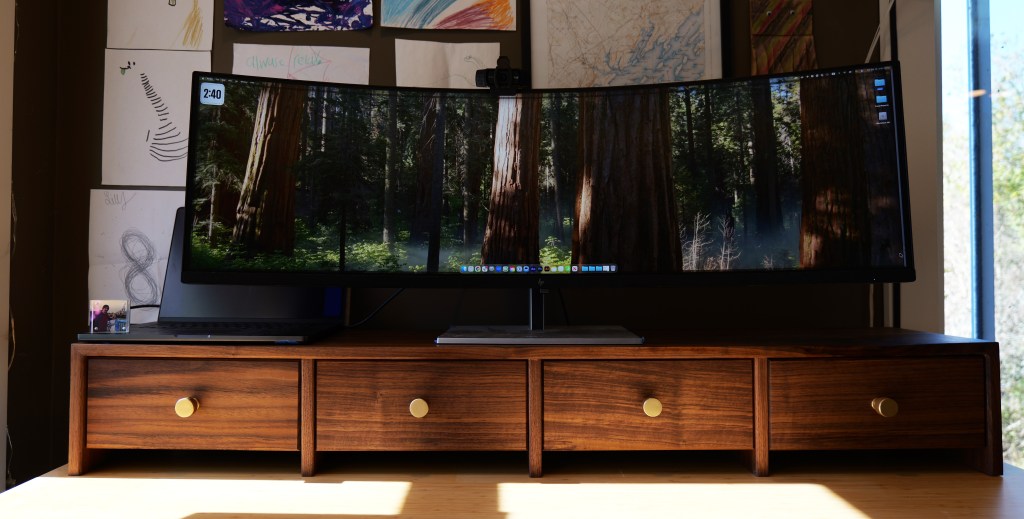
I wanted something that offered a bit more space for storage, looked better, and that (crucially) allowed the drawers to be opened and closed even when there were things like a keyboard sitting in front of it on the desk.
Having learned my lesson from the TV stand, I made extremely sure that all of the drawer separators were square:
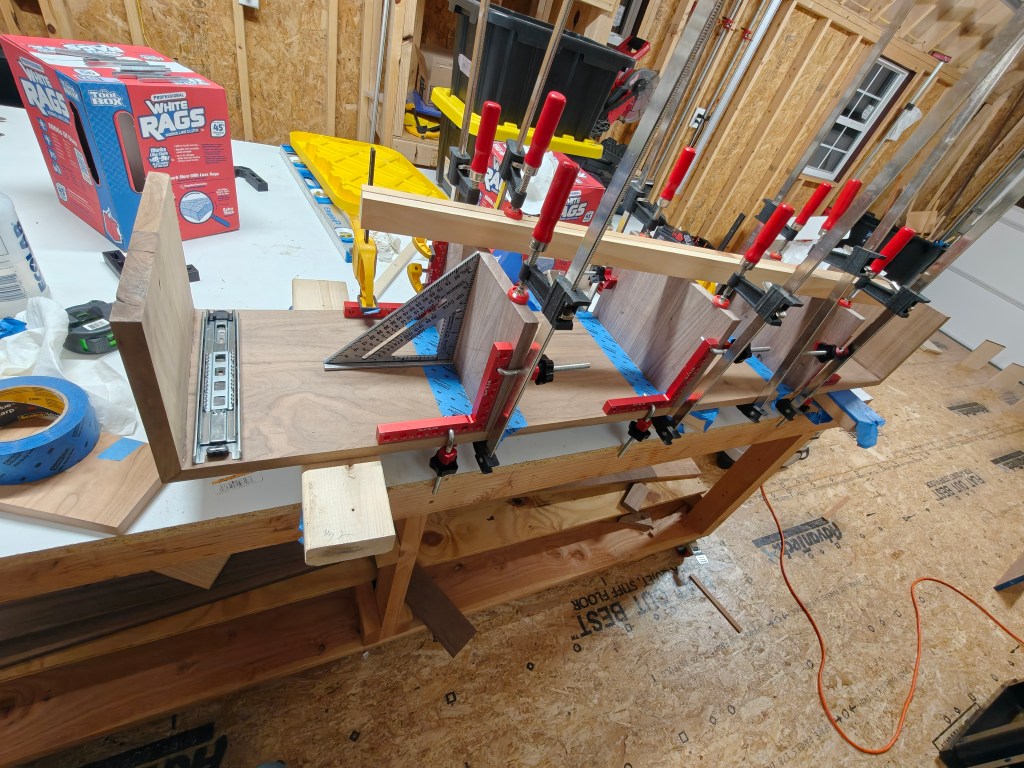
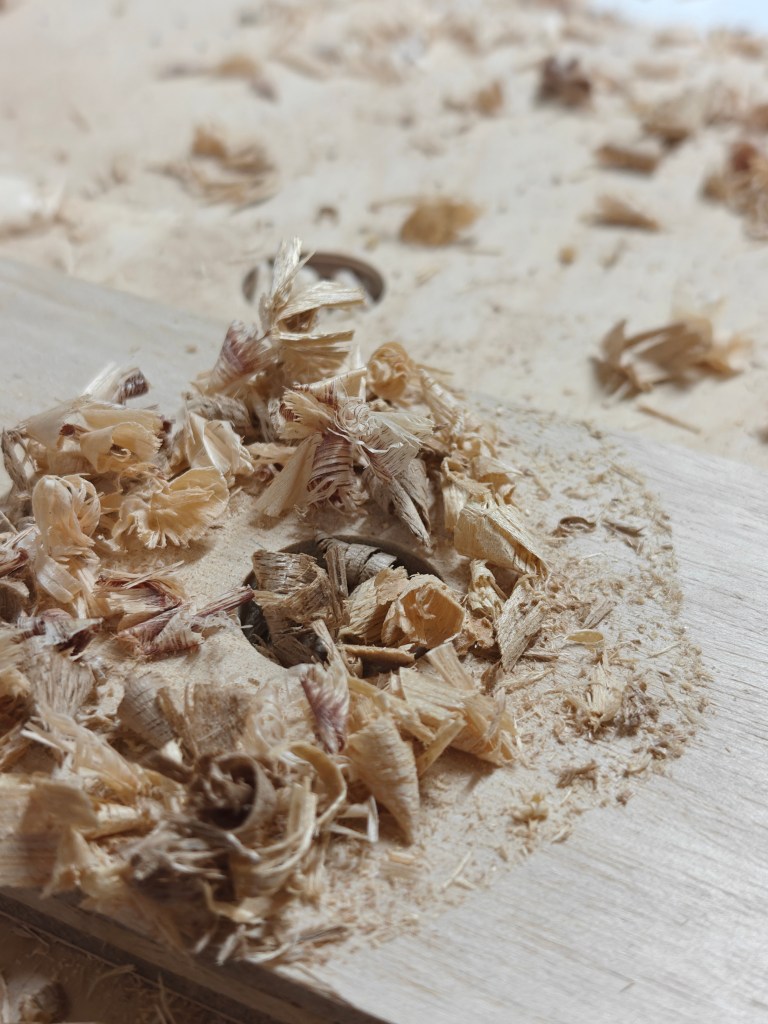
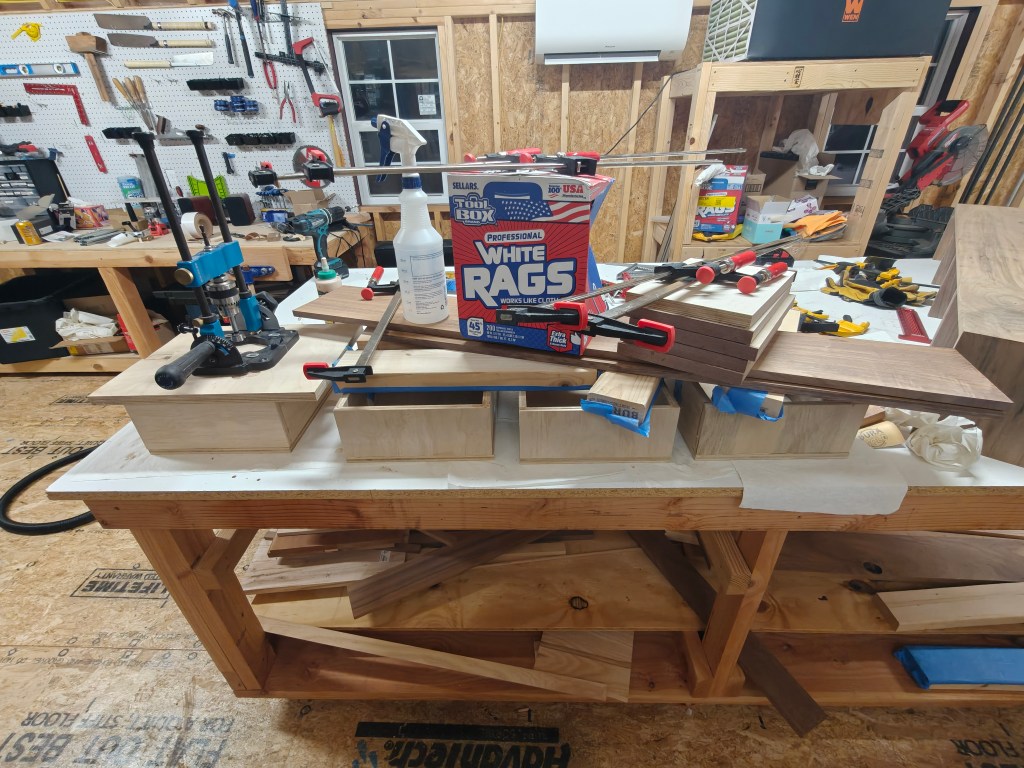
Drawer box construction was a little half-assed on this one. This is my “clamp” setup for gluing on the bottoms, which worked about as well as you’d probably expect. (But it should be fine, these are small drawers not holding much).
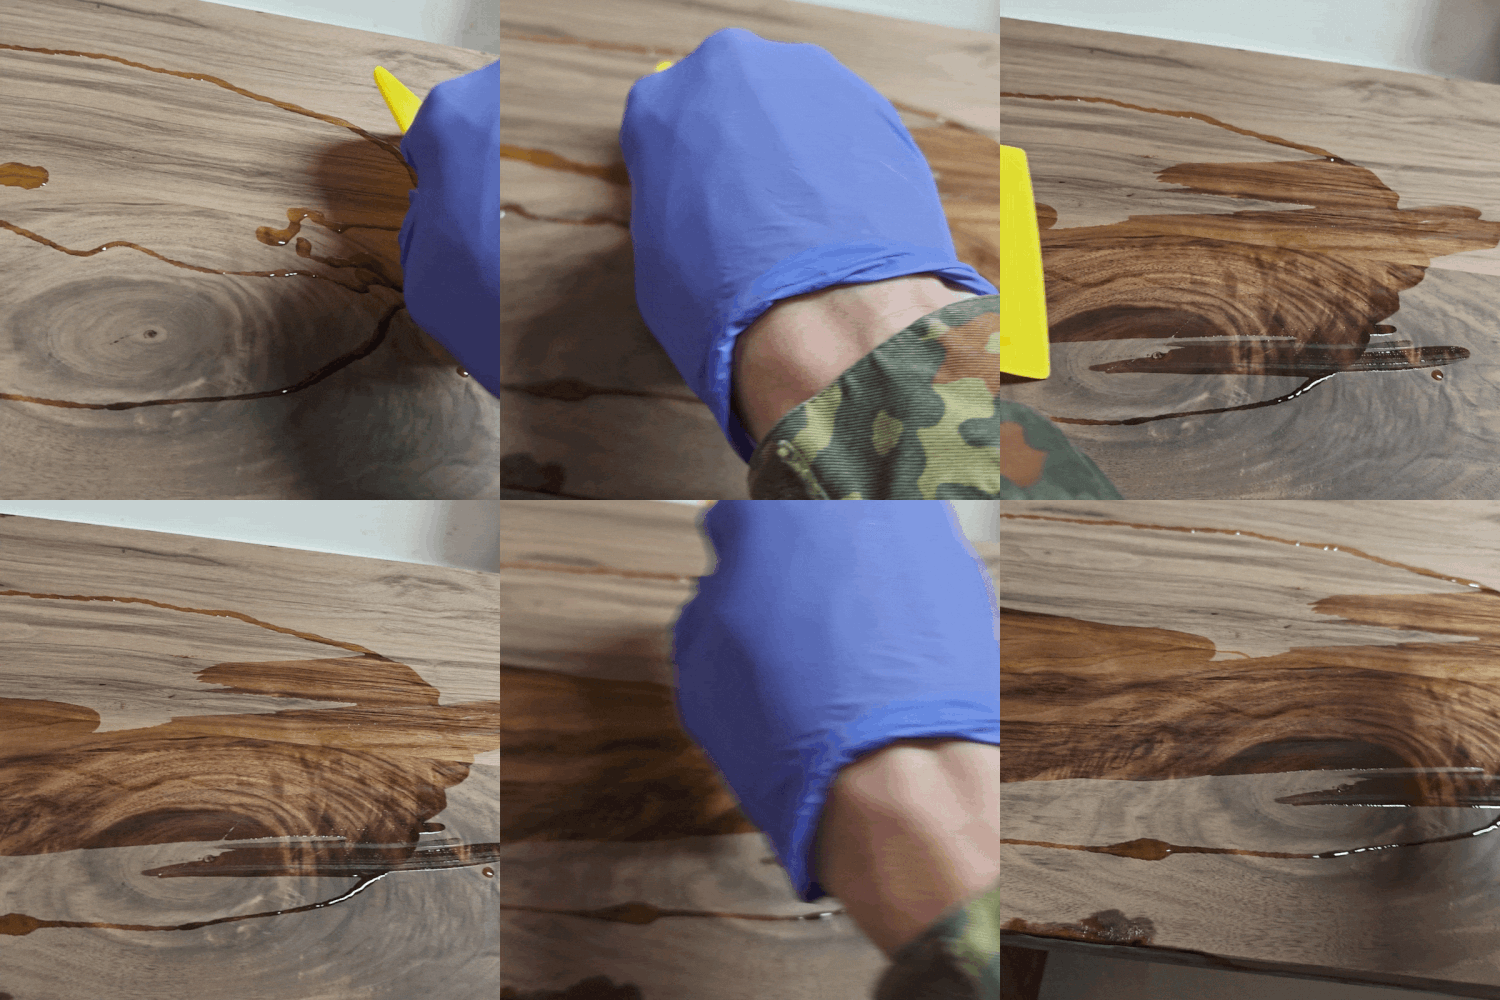
Finishing is always the most satisfying part with walnut because magically everything looks 100x better:
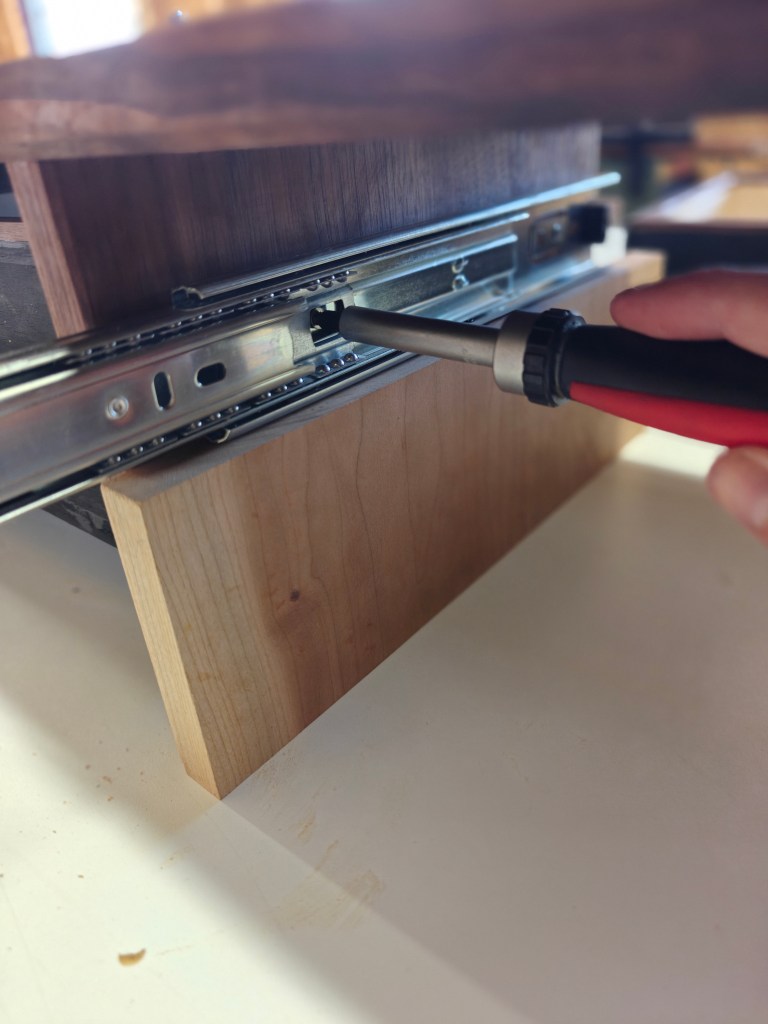
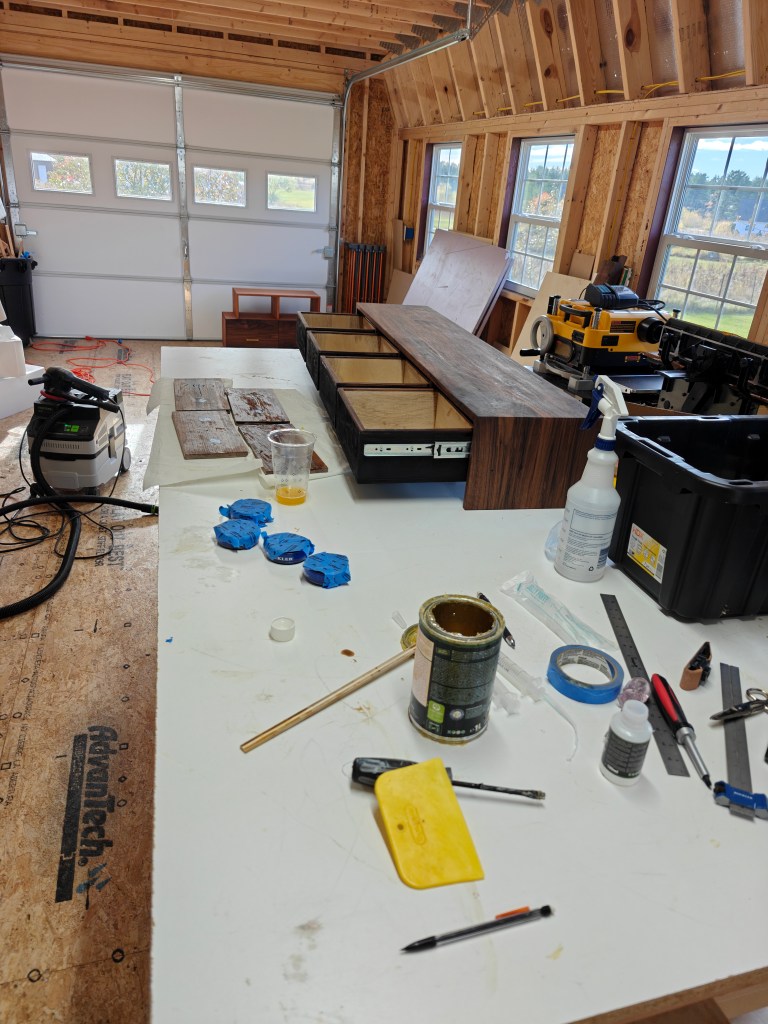
Since the drawer spacers were actually square this time, I was able to go with metal drawer slides. The block of cherry below the slide is not part of the organizer, just a spacer I was using to ensure all slides were at the same height.
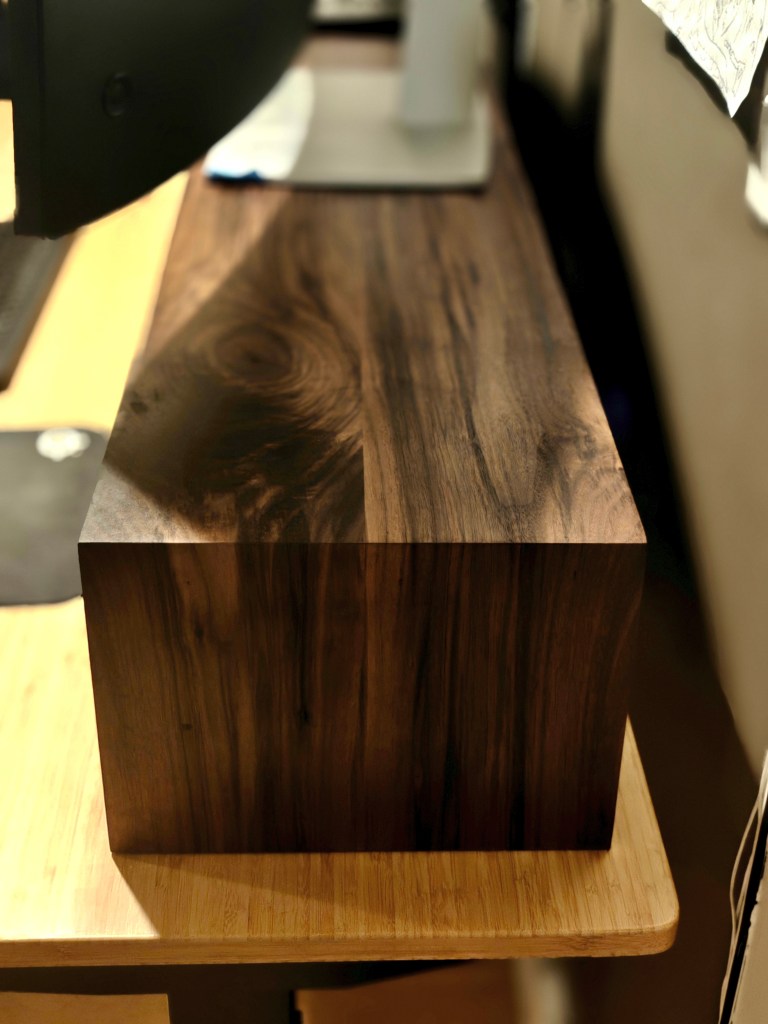
Even before attaching the drawer fronts and hardware and before the finish had cured, you could tell it was shaping up pretty nicely. Note that I also did a waterfall edge here, and unlike with the TV stand, I kept it nice and sharp.
Here’s what it looks like in action! As you can see, I added some technical bells and whistles as well:
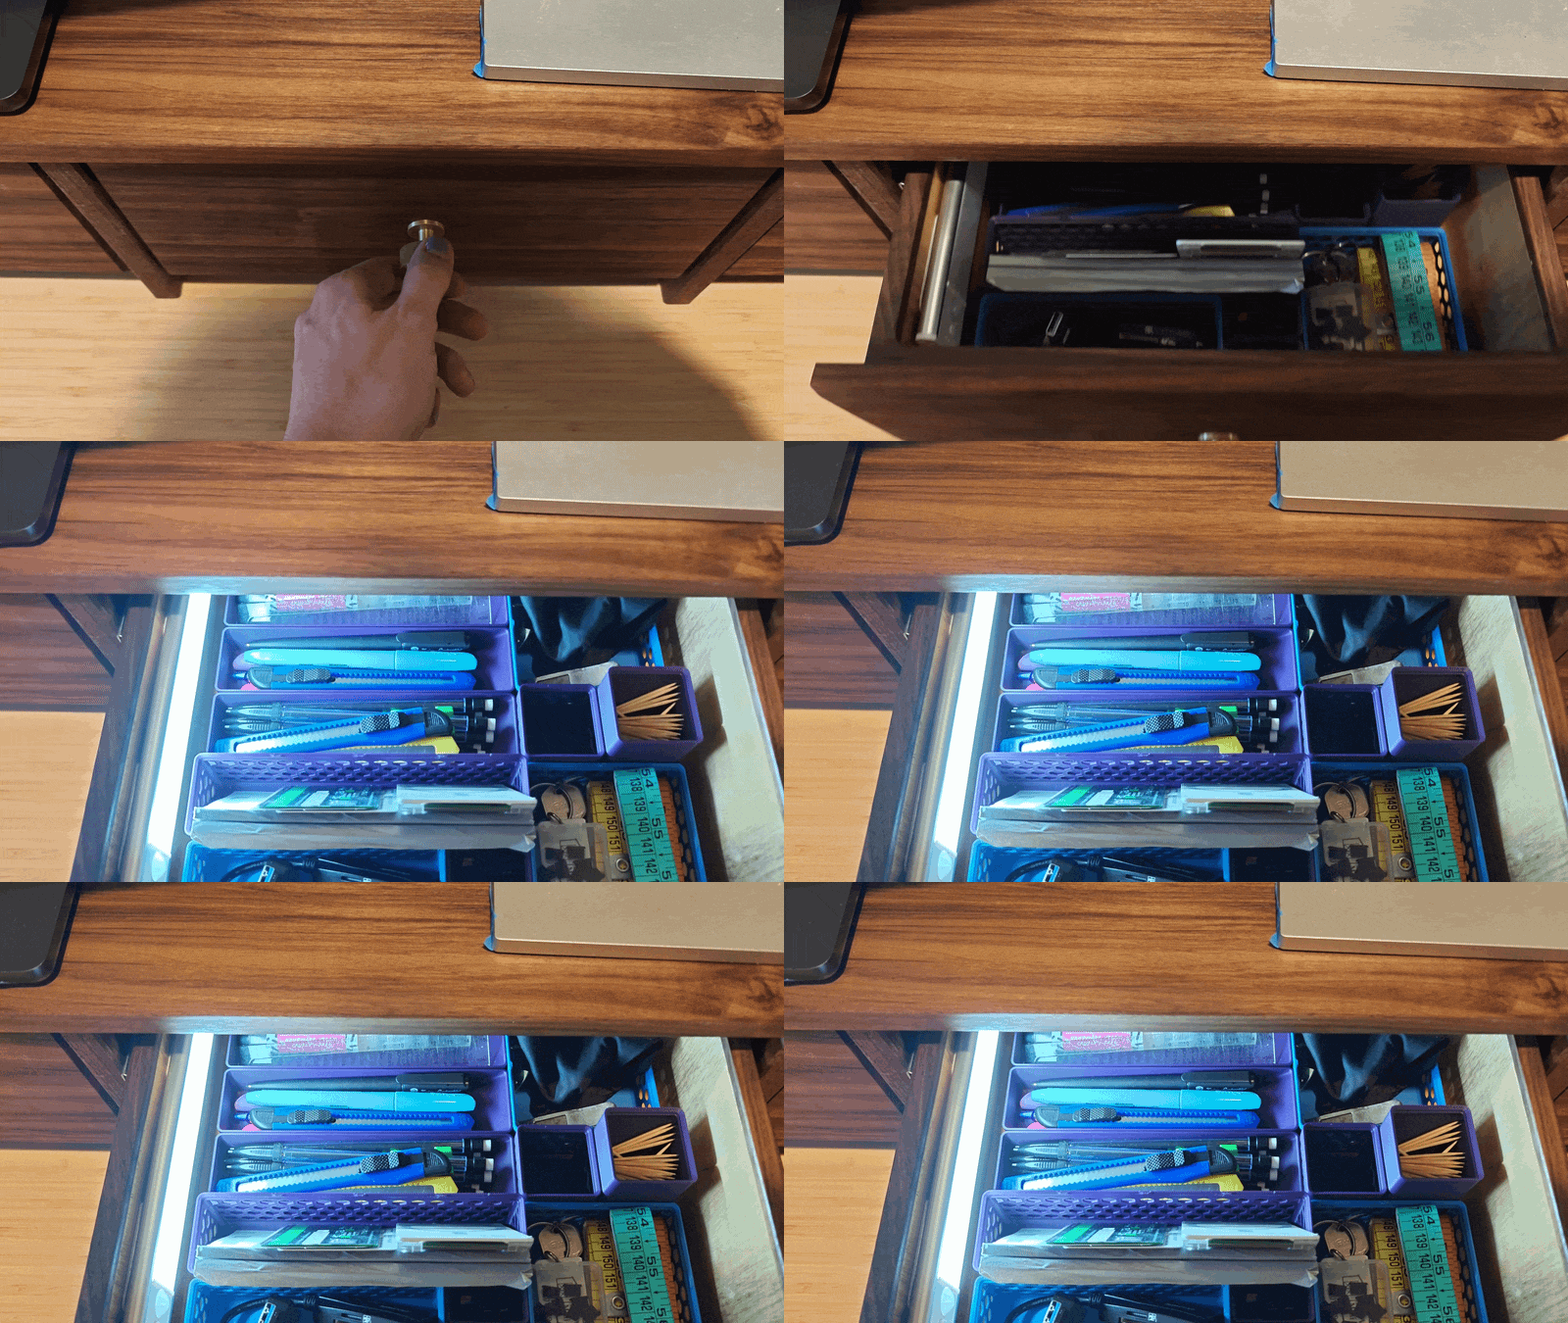
Putting motion-generated lights in the drawers is mostly a party trick, but it has already come in handy a couple times grabbing things late at night.
The space under the drawers is big enough that I could store papers or notebooks there if I wanted, and the drawers themselves are elevated enough that they clear my keyboard with no trouble.
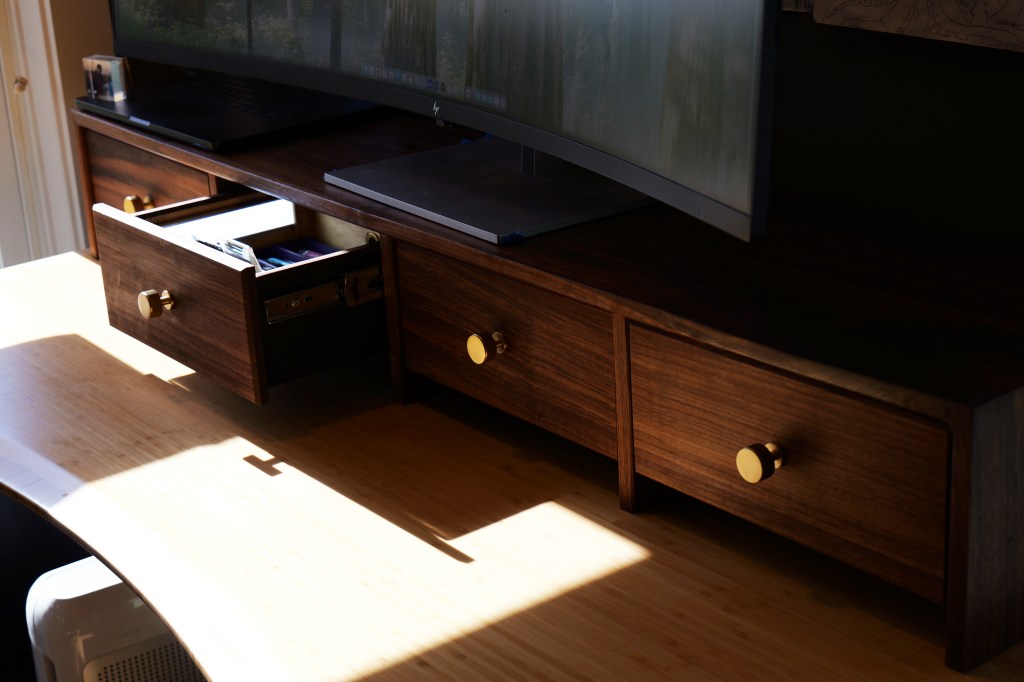
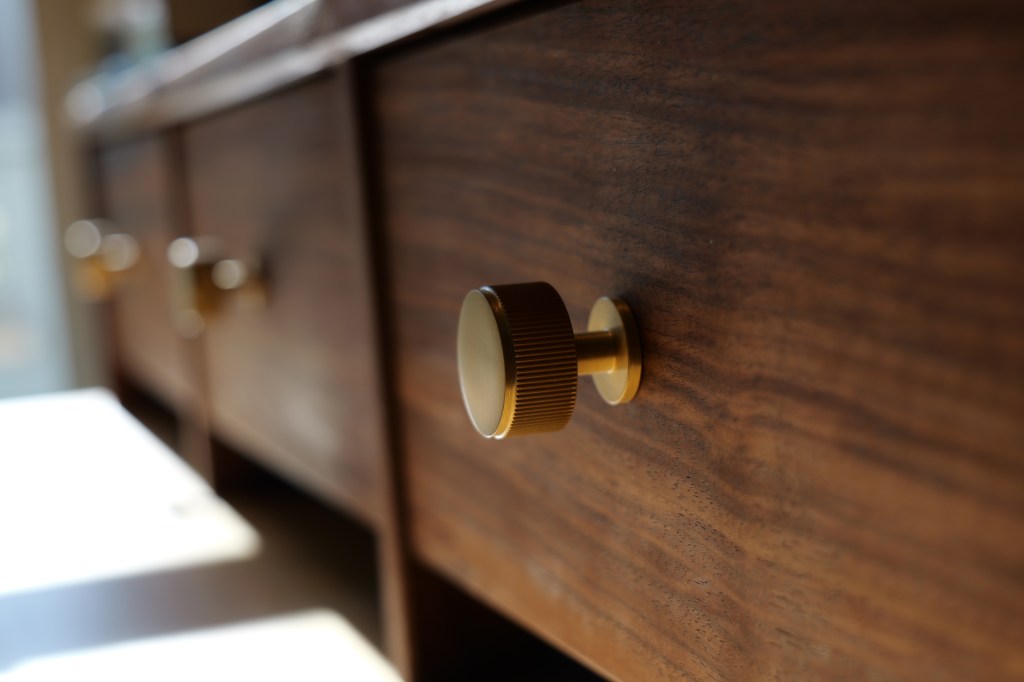
This is the nicest thing I’ve ever made, I think. It’s certainly not flawless; the rightmost drawer sticks a bit and the drawer boxes themselves are fairly half-assed, though not in any way that really matters. But it really looks quite nice, the functionality is exactly what I wanted (minus the sticky drawer), and the improvement over the previous organizer is…massive.